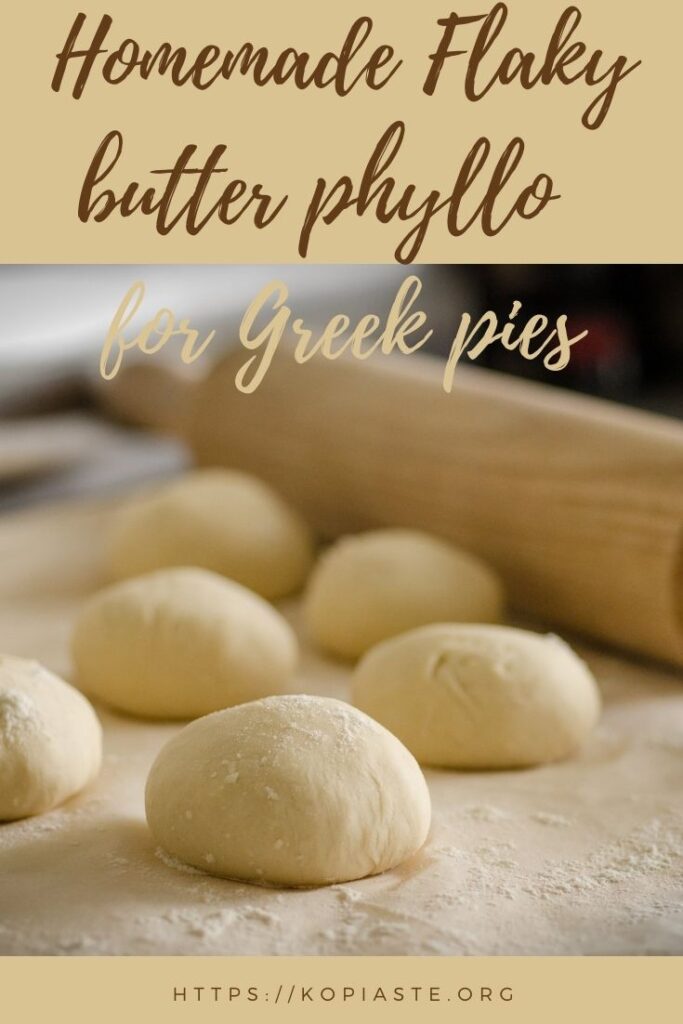
Homemade Flaky butter phyllo for Greek pies
This homemade flaky, butter phyllo is a simplified way of making dough similar to puff pastry, which makes it ideal for Greek Pites (pies).
Although this butter phyllo does not puff as much as puff pastry, by making it with layers of butter between each phyllo, when baked each phyllo will form many flaky, tender layers as compared to regular phyllo dough.
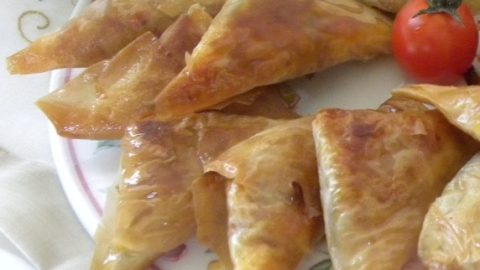
It is the perfect phyllo to make homemade pies such as Spanakopita, tyropita, kreatopita (meat pie) and many more.
Ideally make this pastry the day before using so you have time ahead of you. You can make the phyllo rolling it by hand or using a pasta machine.

How to make Phyllo with Butter
Step 1: Prepare the dough
Attach the dough attachment on your stand mixer.
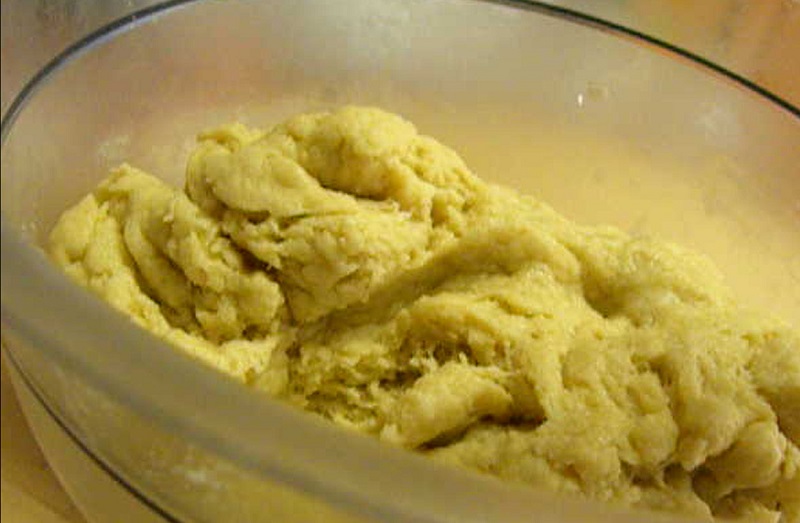
In the mixer bowl put the flour and the olive oil and start stirring.
Add the salt, vinegar and soda water gradually.
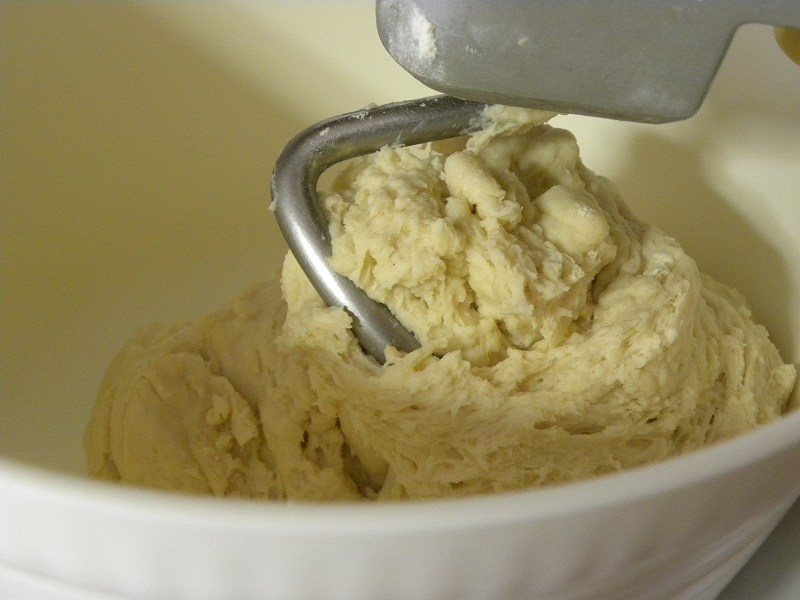
We know that the dough is ready when we see that it does not stick on the bowl.
Stop the mixer and if the dough does not stick on your fingers it is ready. If it does, add some more flour. See video How to make Dough.
This will depend on several factors, such as the kind of flour used or the weather conditions, such as humidity, the dough may need a little bit more or less water than this recipe calls for.
Cover the dough with a cling film and leave it to rest for 30 minutes. Otherwise knead by hand, following same procedure).
Step 2: Rolling the dough with a pasta machine and adding butter
To roll out the dough, flour your working surface and divide the dough in ten pieces.
To make two phyllo sheets, the six pieces will be used for the one placed below and the other four for the smaller one on top of the pie.

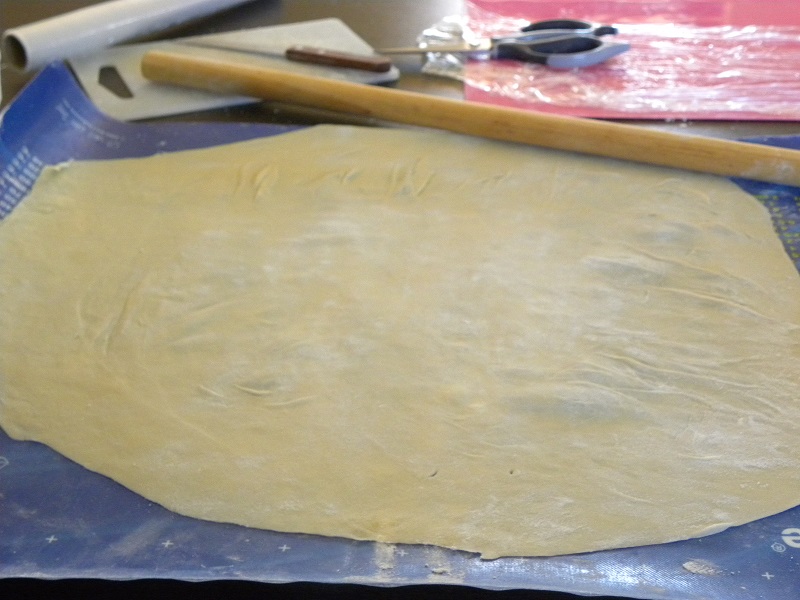
Using the pasta machine roll out phyllo starting from number 1 and continue rolling making a thin phyllo. See my video making phyllo here.
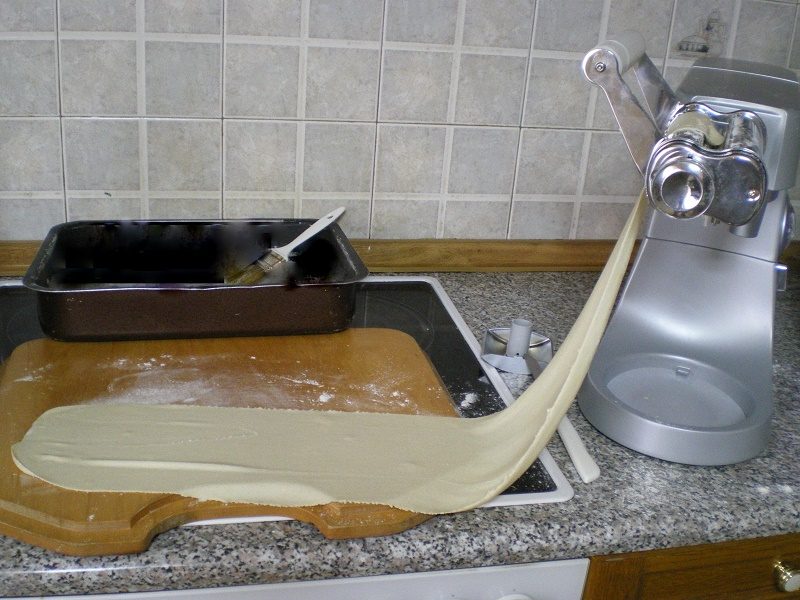
If your pasta machine is numbered from 1 – 6 stop at number 4. If it is from 1 – 8, stop at number 6. You will get a long piece of phyllo from each piece of dough.
Leave the butter at room temperature until it becomes very soft or if you have forgotten to do this, just heat the butter in the microwave for 1 minute or until it becomes soft.
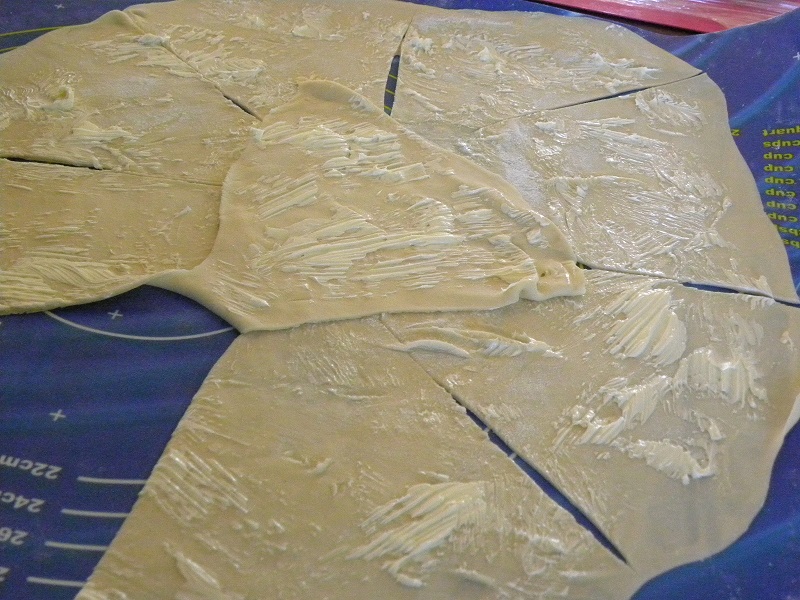
On each phyllo you roll out, spread butter with a brush. If the phyllo is too long for you to handle, cut it in the middle. Brush the first piece with butter, place the second sheet of phyllo on top and butter it again. Continue until you have buttered six pieces.
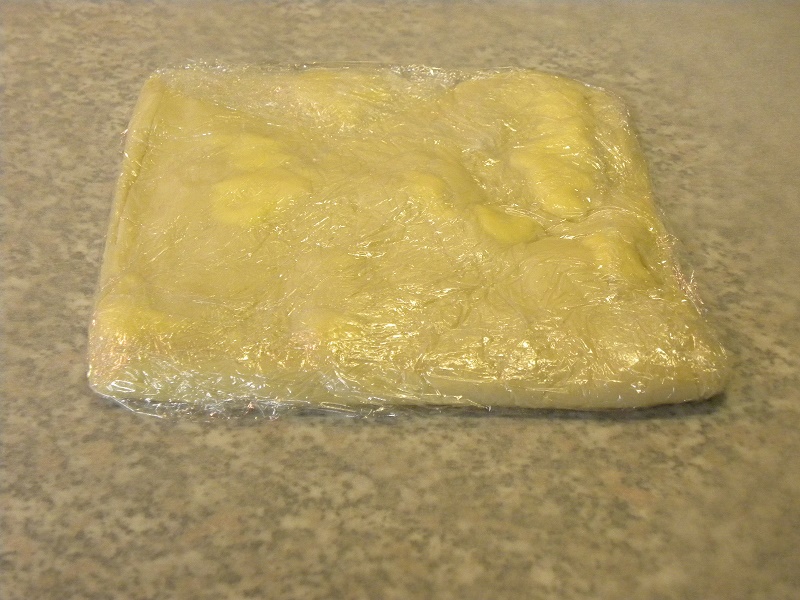
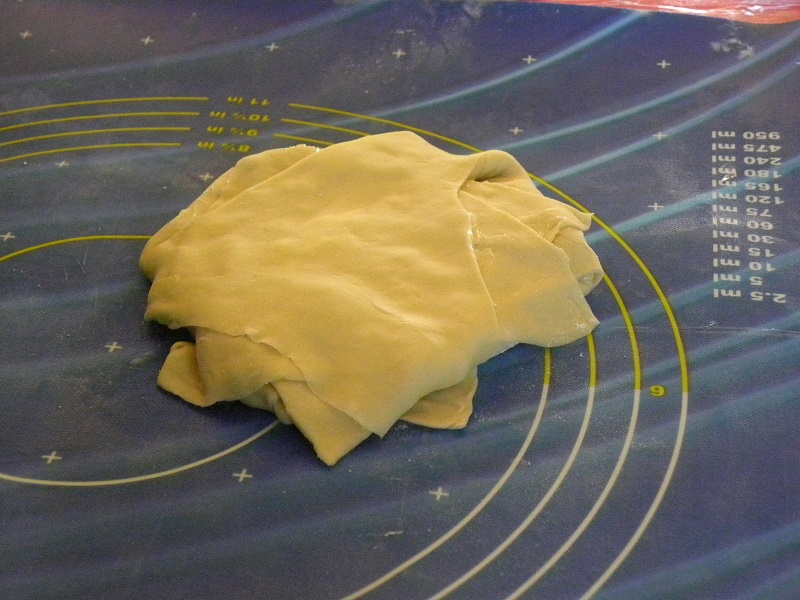
This one will be used for the one placed on the baking tin and should be bigger to cover the sides of the baking tin. Butter phyllo and fold it every 20 centimetres and again whenever folding put a thin layer of butter. Continue with the remaining 5 pieces, buttering and placing them on top. Fold in cling film.
Continue with the remaining four pieces, which again wrap in cling film. This one will be used on top.
Refrigerate for at least 1 hour.
Step 2a: rolling the phyllo with a dowel and adding butter
Prepare the dough as above. Let it rest for 30 minutes and divide it into four equal pieces.
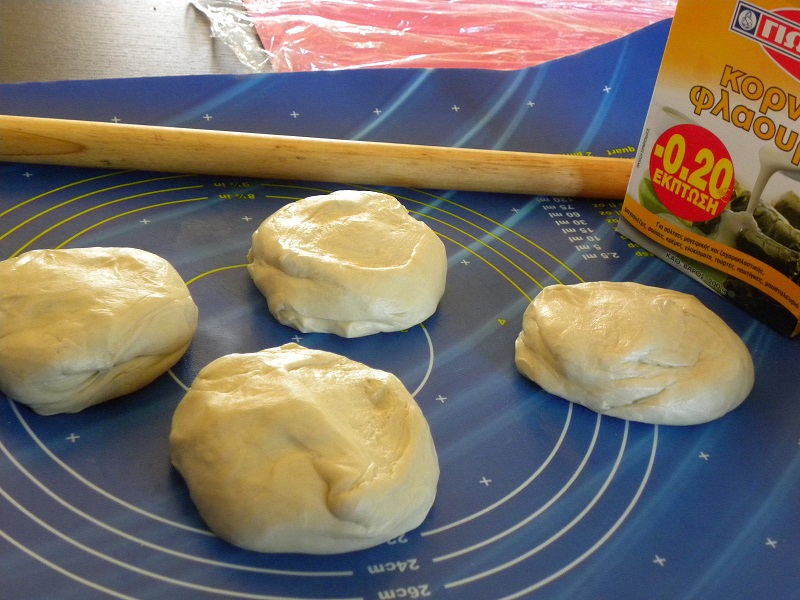
Roll the phyllo as thin as you can. You can watch me making the phyllo by hand here.
Brush the phyllo with butter and cut it into 8 pieces.
Fold and butter each piece of dough.
Continue with the second sheet, which place on top of the first one. When done wrap in cling film and refrigerate.
Do the same with the third and fourth phyllo.
When ready to use, if the dough is very firm, allow it to sit at room temperature for a few minutes before rolling.
Starting with the first piece, roll the phyllo with a rolling pin so that you give it the shape of your baking tin.
Rotate the dough regularly, adding flour on the work surface and on the dough.
When it becomes big, start rolling it on the rolling pin and work with your fingers, pressing it gently from the centre to the edges, so that it stretches.
Keep rolling, until the phyllo is big enough to cover the sides of the baking tin.
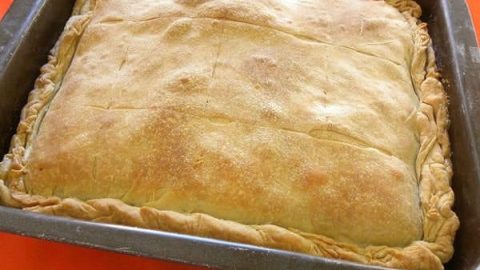
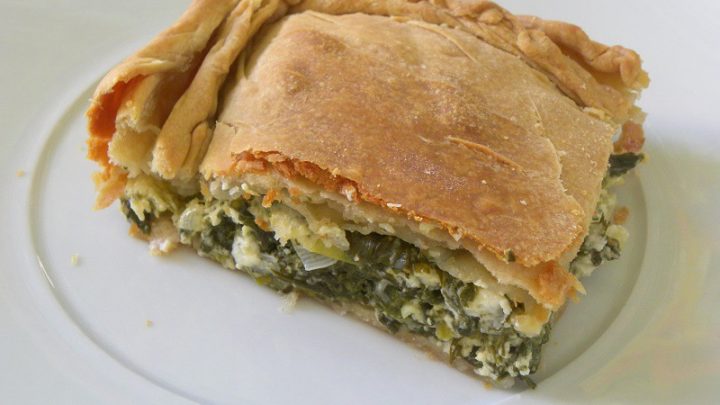
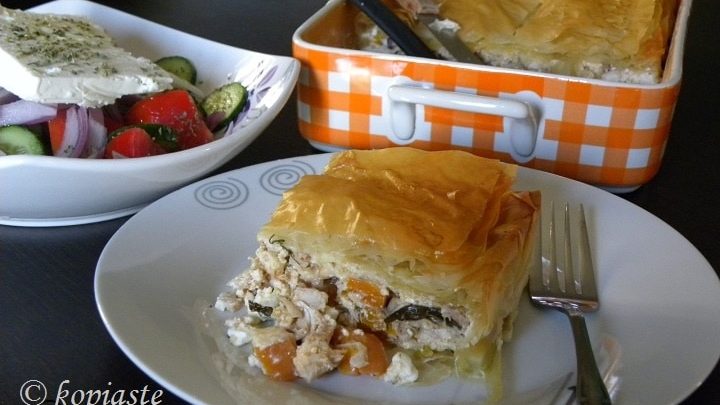
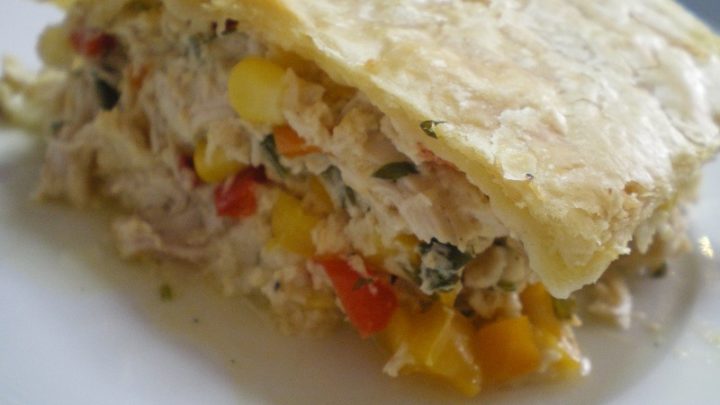
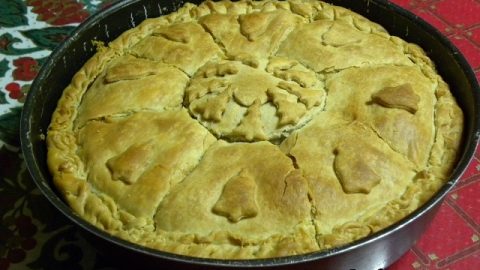
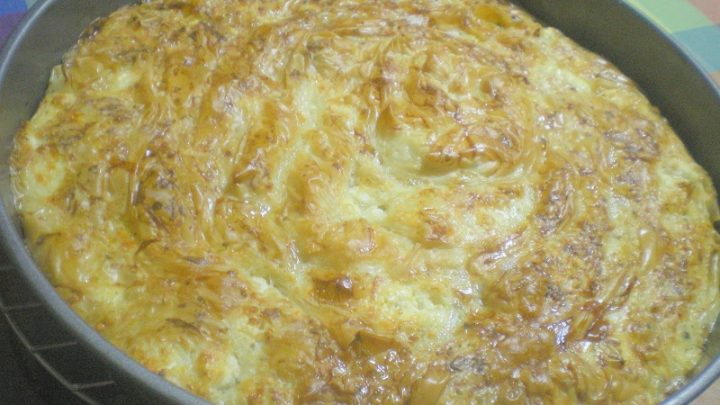
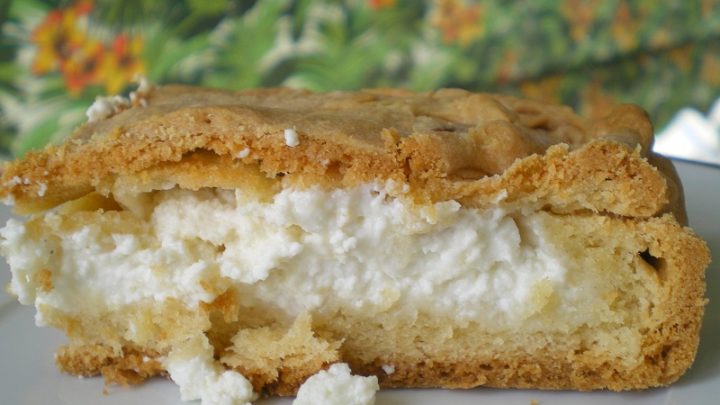
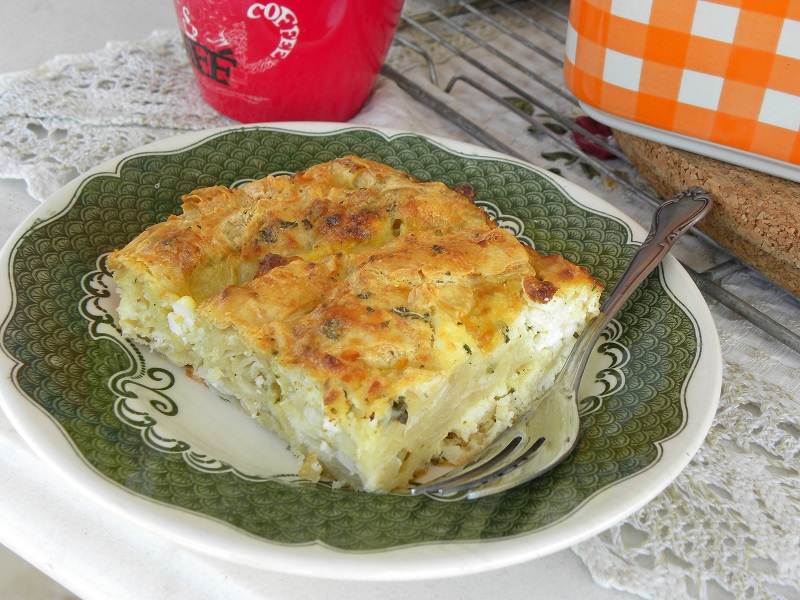
Grease your baking tin and add the phyllo. You can use any savoury fillings to make pies such as spanakopita, tyropita, kreatopita etc.
Add the filling of your choice and then roll out the second phyllo, which place on top of the filling. Cut any excess phyllo hanging over the sides of the baking tin.
Continue with the second sheet of phyllo. If it is a big bigger, no worries. Just crease it until it fit in the baking tray.
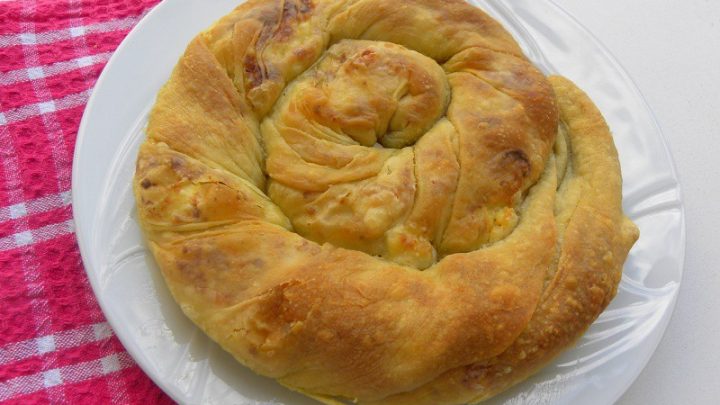
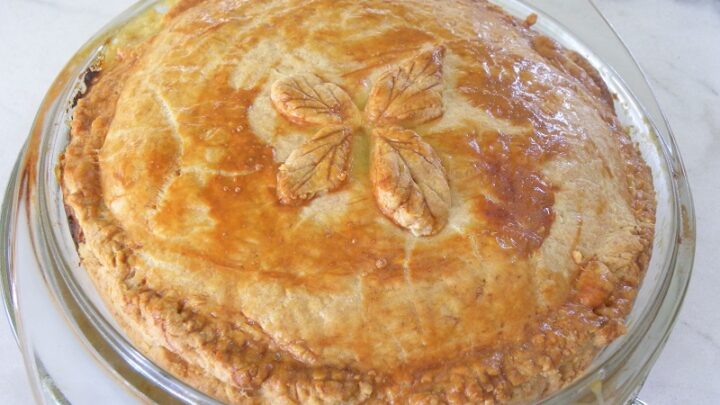
Take both the phyllo sheets and pinch them with your thumb and index so as to join them. Try giving them a lovely shape as possible.
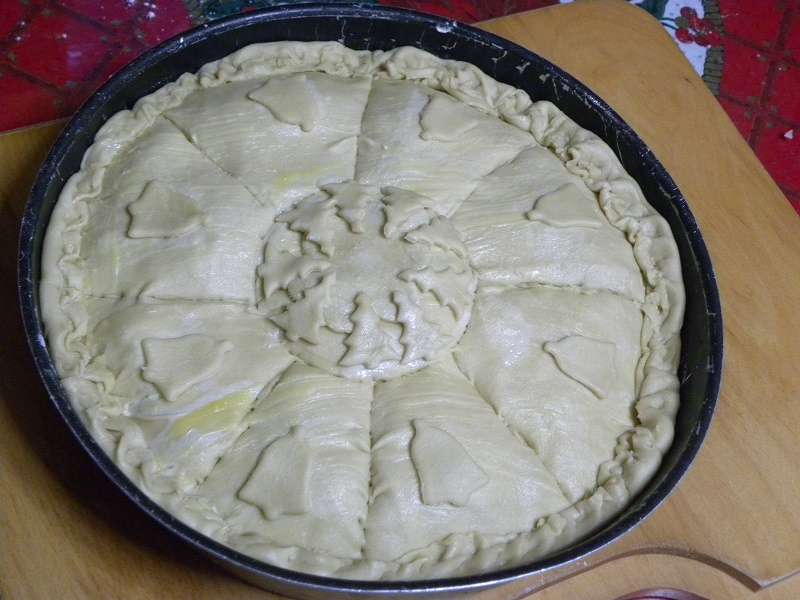
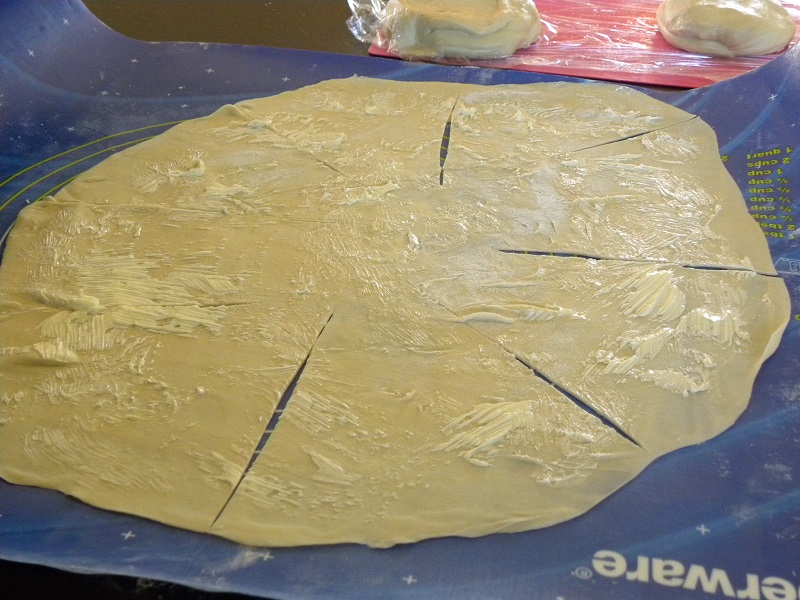
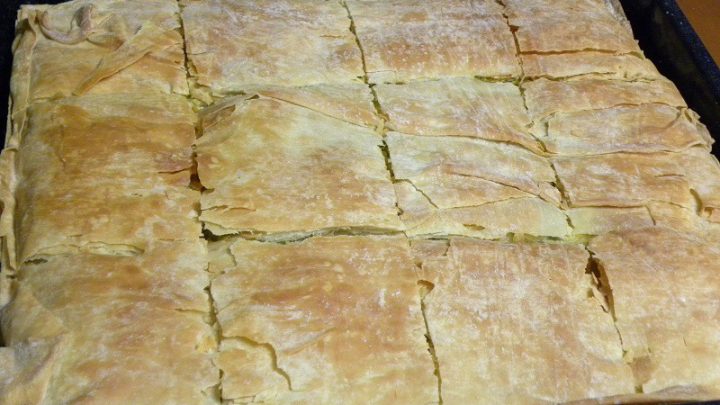
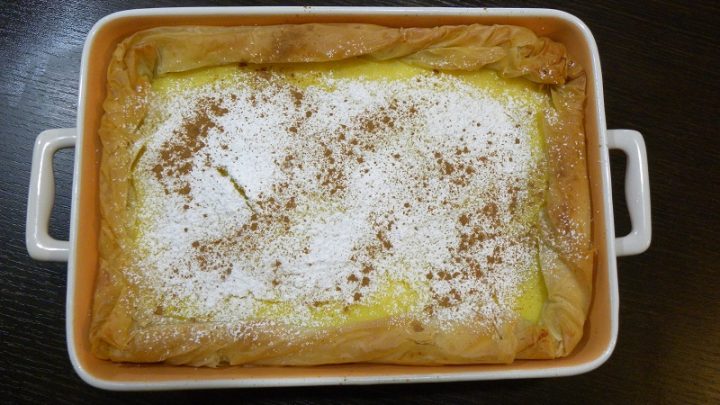
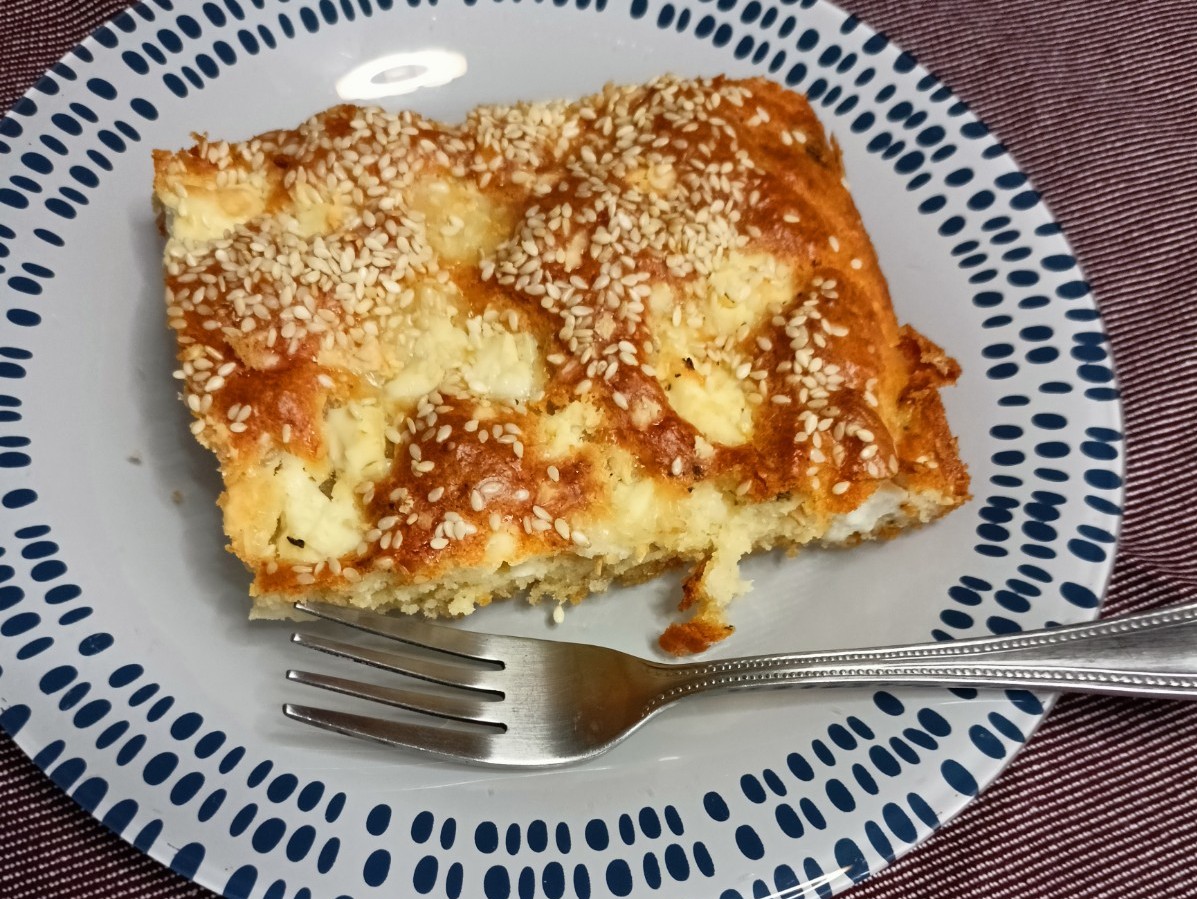
Brush the top with butter or olive oil and score the pie into as many pieces as you like. You can use the leftover pieces to decorate your pie, using a cookie cutter.
Bake in a preheated oven to 180ο C/ 350ο F for about 1 hour or until golden and crispy on top.
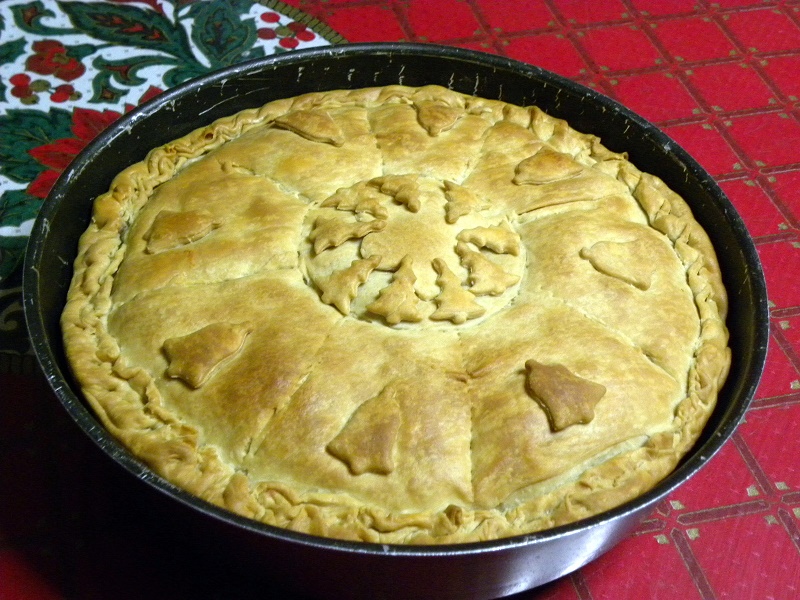
As soon as you remove it from the oven, cut the pieces, where previously scored, so that the steam will escape and prevent the phyllo from becoming soggy.

Homemade Flaky butter phyllo for Greek pies
This homemade flaky butter phyllo is a simplified way of making dough similar to puff pastry, which makes it ideal for Greek Pites (pies).
Ingredients
- 500 grams all-purpose flour
- ¼ cup extra virgin olive
- 3 tablespoons vinegar
- 1 teaspoon sea salt
- 250 - 300 ml soda water
- 150 grams butter, at room temperature
Instructions
- Attach the dough hook on the stand mixer.
- In the mixer bowl put the flour and the olive oil and start stirring. (If we are doing this by hand just rub the flour with the olive oil, until absorbed).
- Add the salt, vinegar and soda water gradually. Mix, until the flour absorbs the water. Stop the mixer and check to see that the dough does not stick on your fingers or on the side of the bowl. If it does, add some more flour, a tablespoon each time, until it doesn't. The perfect dough should be soft and elastic.
- Cover the dough with a clean kitchen towel and leave it to rest for 30 minutes. If you don't have a stand mixer, you can knead the dough by hand.
- To roll out the dough, flour your working surface and divide the dough in ten equal pieces. (To make two phyllo sheets, the six pieces will be used for the one placed below and the other four for the one, which will be placed on top of the pie).
- Using the pasta machine roll out phyllo starting from number 1 and continue rolling making a thin phyllo Ensure that your dough has plenty of flour to prevent it from sticking to the working surface. See my video making phyllo here.
- If your pasta machine is numbered from 1 - 6 start from number 1 and stop at number 5 If it is from 1 - 8, stop at number 6 You will get a long piece of phyllo from each piece of dough
- Leave the butter outside of the fridge to come to room temperature and become soft. Otherwise, heat the butter in the microwave for 1 minute or until it becomes soft.
- On each phyllo you roll out, spread butter with a brush Place a second sheet of phyllo on top and brush with more butter. Continue until you have buttered six pieces Fold all six about 20 centimetres long and whenever folding, brush it again with a thin layer of butter Fold the buttered dough in cling film.
- Continue with the remaining four pieces, which again wrap in cling film Refrigerate both for at least 1 hour.
- When ready to use, if the dough is very firm, let it sit at room temperature for a
few minutes before rolling. - Starting with the big piece, roll the phyllo with a rolling pin so that you give it the
shape of your baking tin. Ensure that your dough has plenty of flour to prevent it from sticking to the working surface or the rolling pin. Roll until it becomes bigger than the size of your baking tin. - Grease your baking tin with butter or olive oil and add the bottom layer phyllo Cut any excess dough hanging on the side of your baking tin. (Add your filling. You can use any savoury fillings to make pies such as spanakopita, tyropita, kreatopita etc).
- After adding the filling, roll out the second layer phyllo, which must be
around the size of the baking tin. If it is a bit bigger, no problem. Just put it on top without stretching it, making some creases - Brush the top with olive oil or butter and score the pie to the desired pieces.
- Bake the pie in a preheated oven to 180 degrees C/ 350F for about an hour or until golden and crispy.
- Remove from the oven and cut the pieces where previously scored in order to release the steam.
- Set aside to cool for 15 minutes and then serve.
Nutrition Information
Yield 1 Serving Size 1Amount Per Serving Calories 1122Total Fat 125gSaturated Fat 78gTrans Fat 5gUnsaturated Fat 39gCholesterol 323mgSodium 3368mgCarbohydrates 2gFiber 1gSugar 0gProtein 2g
"These values are automatically calculated and offered for guidance only. Their accuracy is not guaranteed."
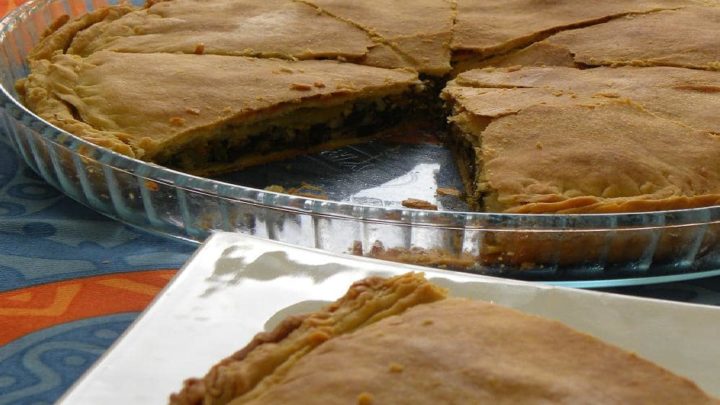
Greek Pies (Pites)
Greek pies (pita plural pites) are a staple in Greek cuisine. They are very versatile and can be either savoury or sweet. You can make a "pita" with vegetables, meat, fruit, etc.
Spanakopita and Spanakopitakia
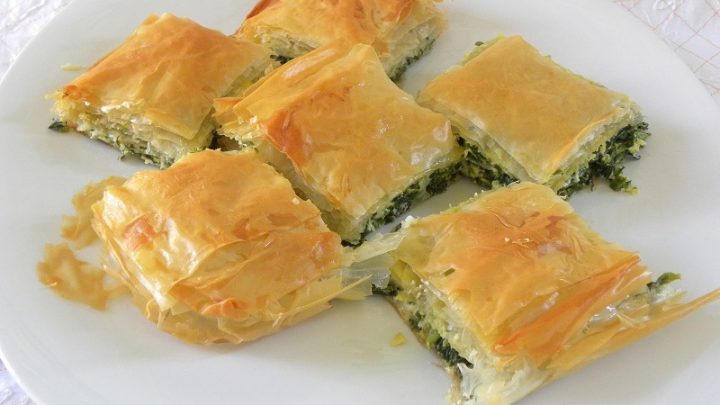
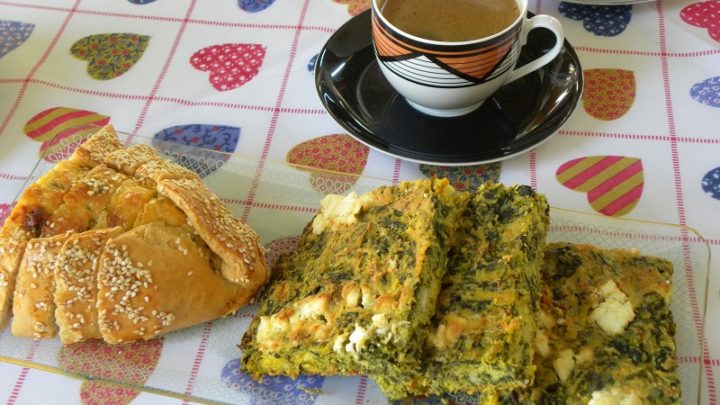
Spanakopita (Greek "σπανάκι + πίτα", spinach + pie) is a Greek pastry with a filling of spinach, feta cheese (sometimes in combination with anthotyro, which is a soft white cheese similar to ricotta, onions or green onions, eggs, herbs and seasoning.
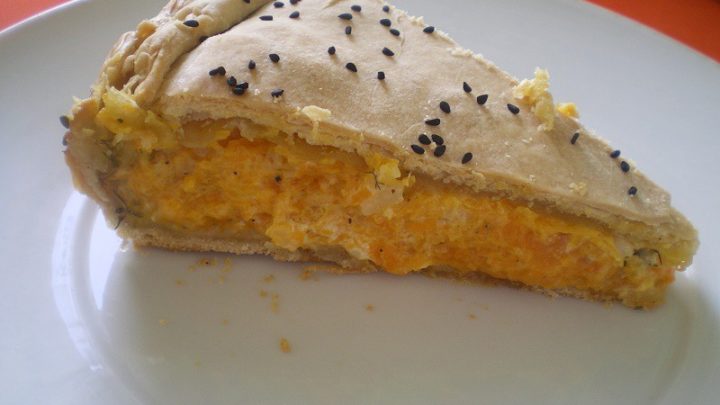
Plastos, Spanakopita from Thessaly and Epirus, Ressi and Kolokythopita (Zucchini Pie)
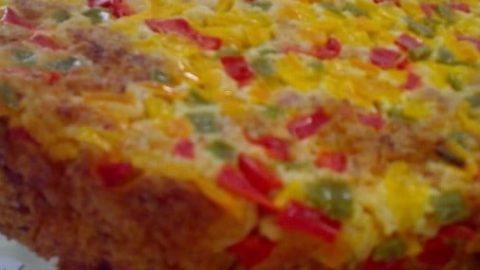
Plastos, which is a type of pita (pie) from Thessaly, is a much easier version of spanakopita without phyllo, made with spinach and corn meal, which is equally delicious. Â
Eliopita, Eliotes or Eliopitakia (Cypriot olive pies)
Eliopita, Eliotes or Eliopitakia are Cypriot olive pastries made either as a bread, as a roulade, as turnovers or a pie, to accompany a cup of coffee or tea.
Tyropita me Maratho (Cheese and Fennel Pie)
A tyropita (cheese pie) made homemade phyllo, xinomyzithra and flavoured with wild fennel.

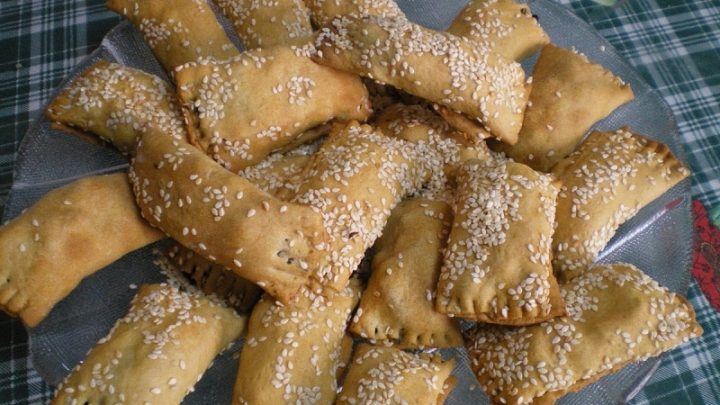
Tyropitakia (Cheese Triangles with Feta)
These tasty cheese-filled triangles are finger foods which can be served as appetizers, mezedes, side dishes, and snacks.

Milopita Bougatsa (Greek Apple Pie with Phyllo)
Milopita Bougatsa is a Greek Apple Pie, made with cooked apples and spices, which are then thickened with a semolina pudding and enclosed in phyllo.
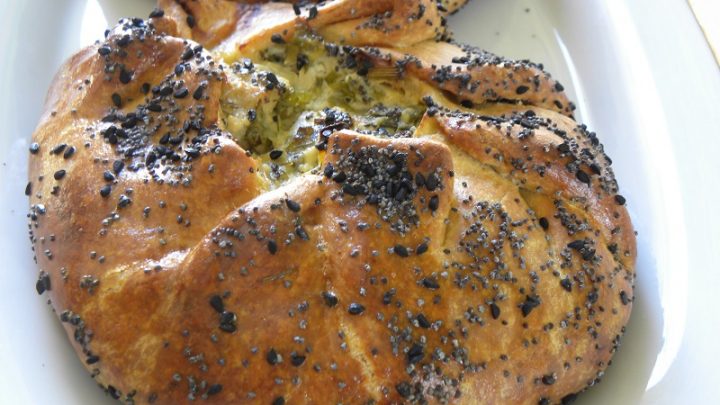
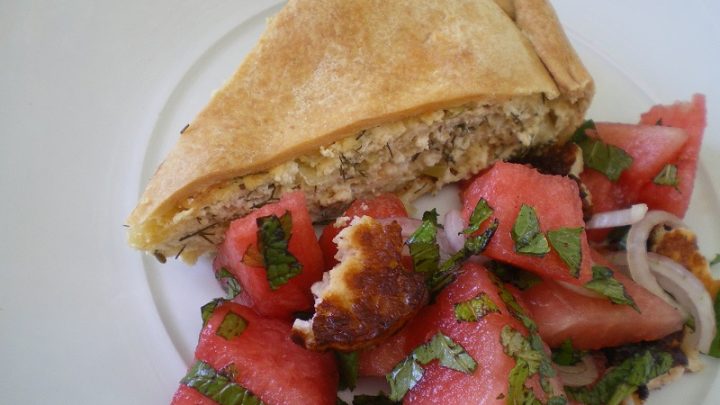
Agginaropita Me Prassa (Artichoke & Leek Galette)
Agginaropita is a delicious Greek pie made with artichokes and leeks. It is is great for lunch with a salad and leftovers can be eaten for breakfast or brunch.
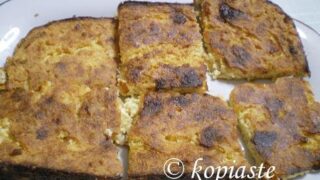
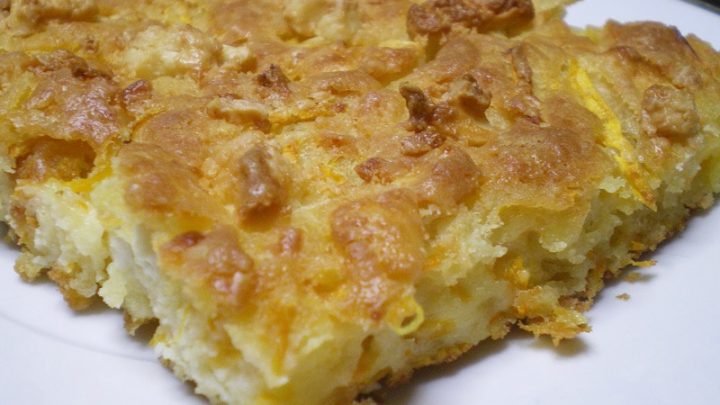
Patsavouropita (the easiest Greek Tyropita - Cheese Pie)
Patsavouropita is a traditional Greek, delicious savory pie with phyllo and feta, which is very easy to make and tastes amazing.
Tyropita with Kourou Phyllo
Tyropita Kourou is a cheese pie made with a type of phyllo made with butter and yoghurt, which I would describe somewhat like tart dough.
Galatopita with phyllo
Galatopita, which means milk pie, is a traditional sweet pie from Arcadia, Peloponnese. The original recipe was made during Easter.
Kopiaste and Kali Orexi!


Hi Ivy,
Where did u get ur roller from? it looks like a handy tool..:)
can u tell me if ur pastry machine is manual or electronic..i find the manual hard to use..
many thanks and good luck with ur work!!!
i became an addict of ur blog:)
Eva
Yes the roller is really handy. You won't believe it but I got it from a "panygiri". I've been using the manual pastry machine for many years but as I was a good girl Santa got me a new mixer and his elves got me the pastry attachment (lol).