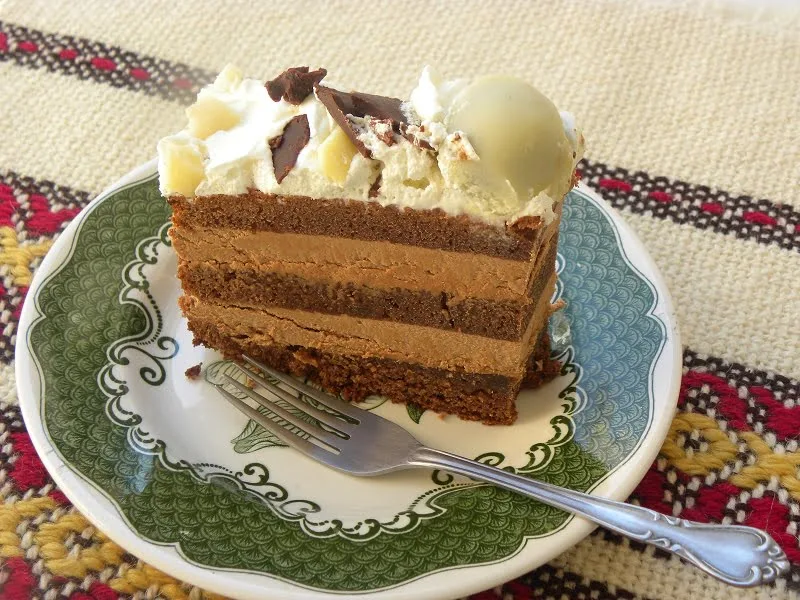
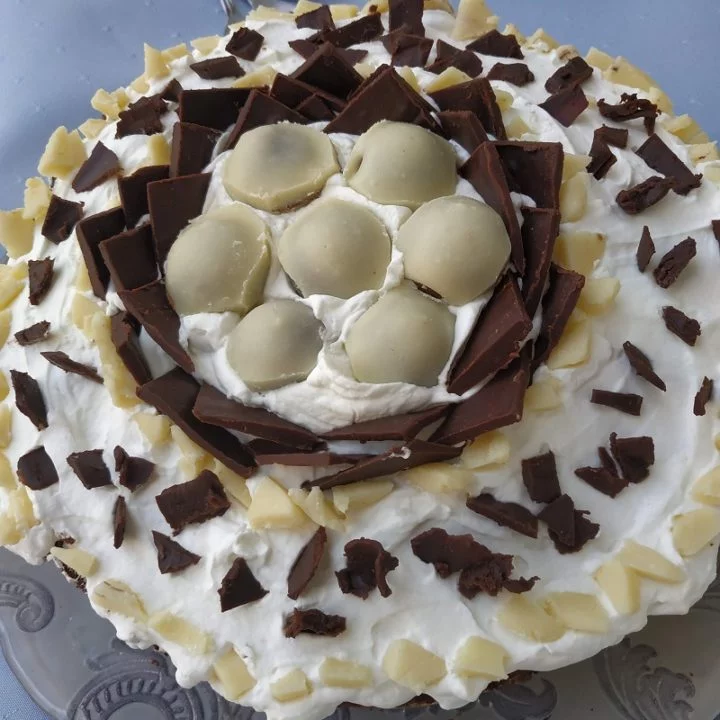
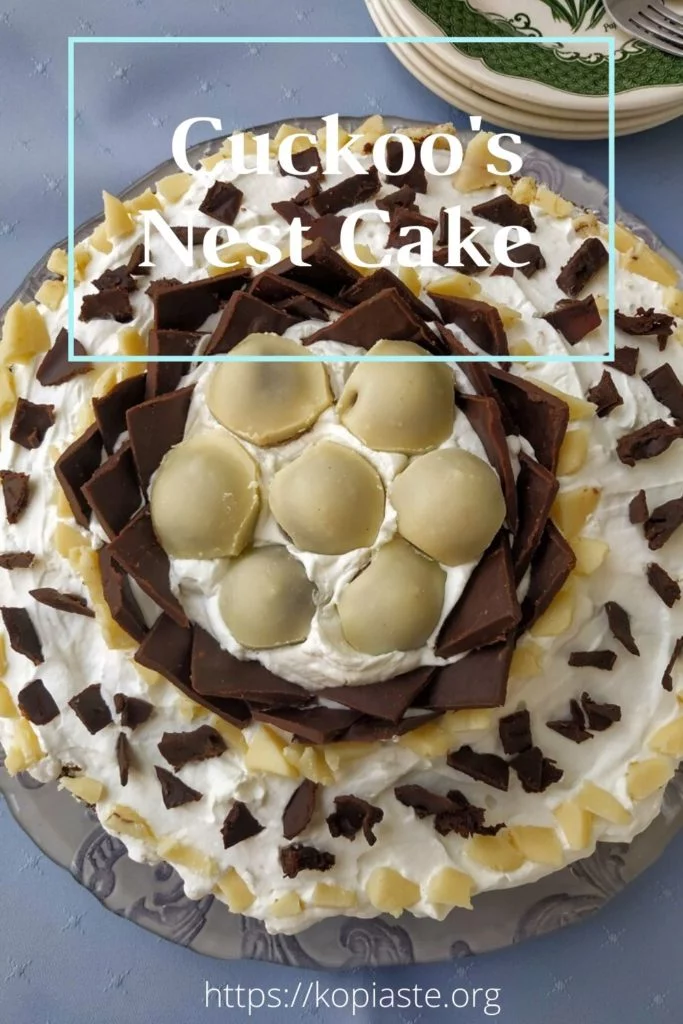
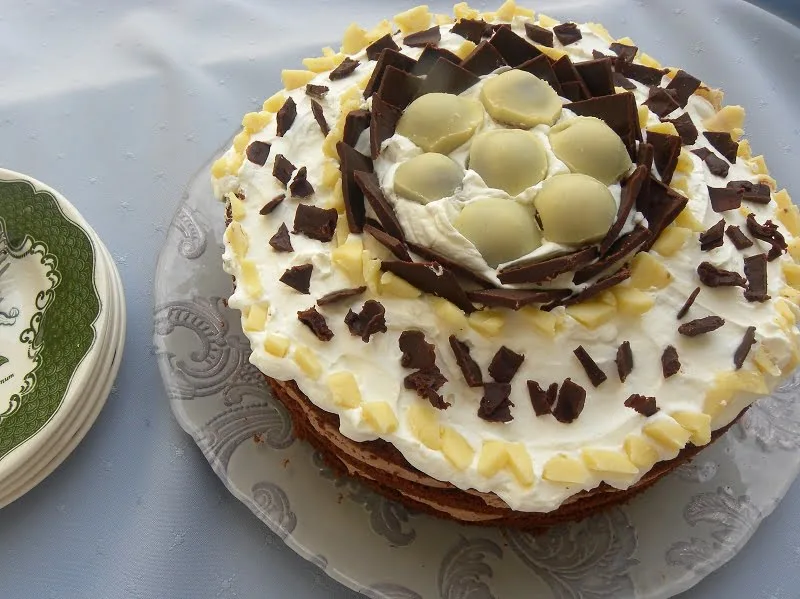
The Cuckoo’s Nest Cake is made with a moist chocolate sponge cake, filled with chocolate buttercream, topped with whipped cream and decorated with dark and white chocolates.
It’s been exactly one month since my husband’s name day in October and I did not yet manage to post any of the recipes I made that day.
I will be posting some of the food I prepared soon.
The most difficult of all was the cake. I’ve never ever made something as difficult as this cake but it was worth every effort I put into it.
This cake needs at least two days to prepare.
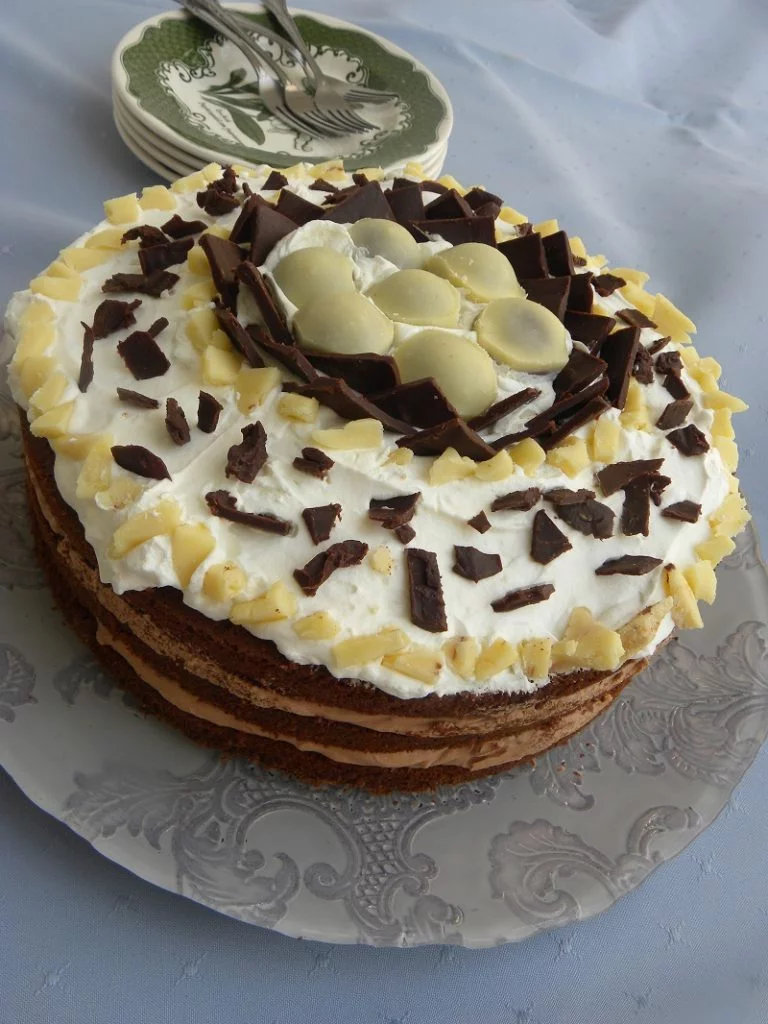
I started the preparation from the previous day. I first made the chocolate blocks which formed the nest and I baked the sponge.
STEP 1: PREPARE THE SPONGE CAKE
There are many sponge cake recipes you can use.
You can use a Victoria Sponge, a Genoise sponge or a Sockerkaka Sponge.
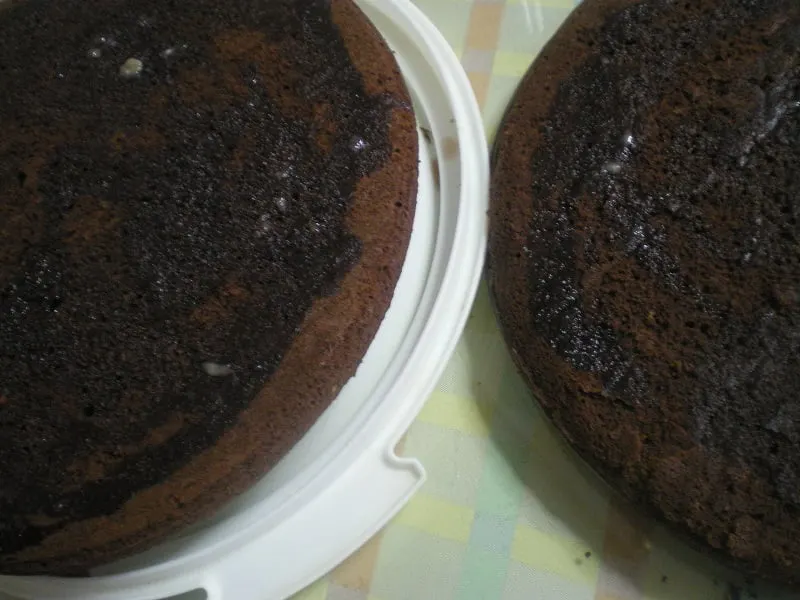
I made the Sockerkaka sponge. This time I made a “Chokladsockerkaka” (Chocolate sponge) by subsituting 50 grams flour with 50 grams cocoa powder.
It is best to make the sponge from the previous day as you will be able to cut it into slices much easier.
Bake the sponge, let it cool and cover with some cling film so that it does not dry out.
The next day, cut the sponge in three equal slices and wet each one with some syrup. I used leftover sour cherry syrup from my fruit preserve. However, if you don’t have any you can easily make a simple syrup from scratch.
STEP 2: PREPARE THE NEST AND THE EGGS:
To form the nest, you will need:
- 125 grams dark chocolate
- 50 grams heavy cream
In a bain marie (double boiler), add the chocolate and cream and mix until it melts. Line a cutting board with parchment paper and spread the chocolate on the parchment paper.
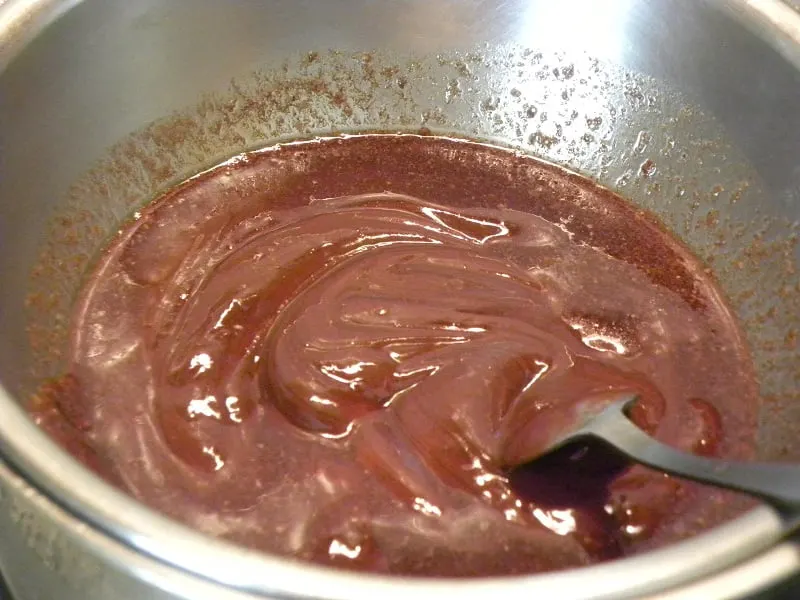
Score it with a knife forming small blocks and refrigerate for 2 – 3 hours until it sets.
You may then cut the blocks and store them in the refrigerator until ready to use.
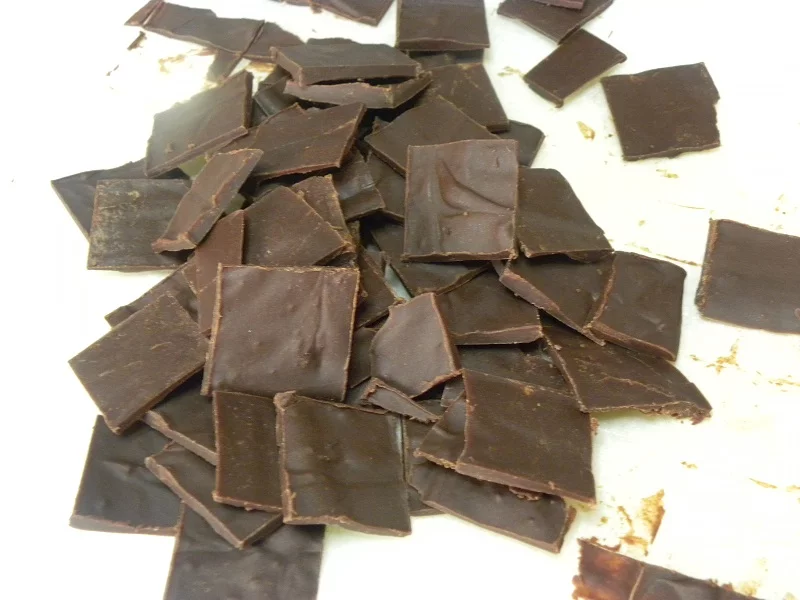
When decorating the cake, I cut each block diagonally to form two triangles.
Note: The quantity I made was more than I needed. If you use half the above amount it will be more than enough. The remaining was not wasted as it can be stored for a long time in the refrigerator to be used in other recipes.
To form the eggs, you will need:
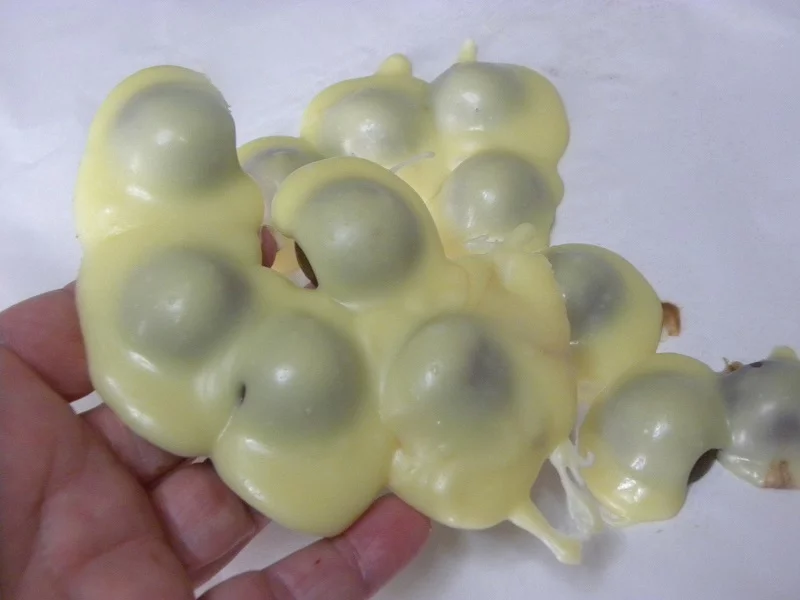
- 12 or less small chocolate eggs or Maltezers chocolates or other round chocolates.
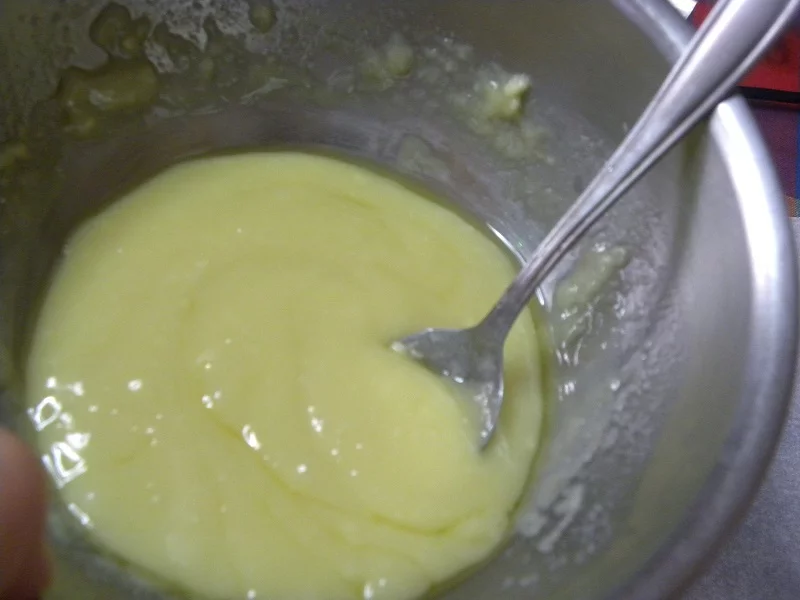
- 75 grams white chocolate
- 20 grams butter
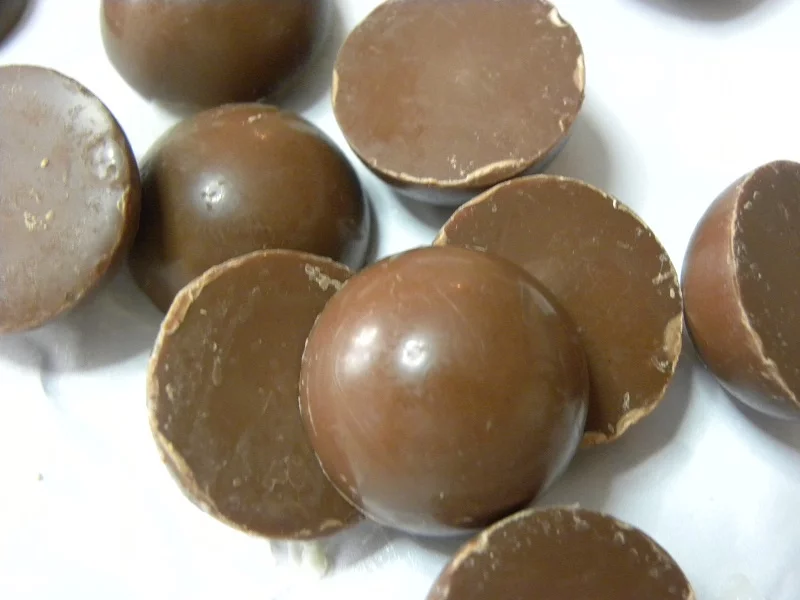
Melt the chocolate with butter in a bain Marie (double bath). Set aside to slightly cool.
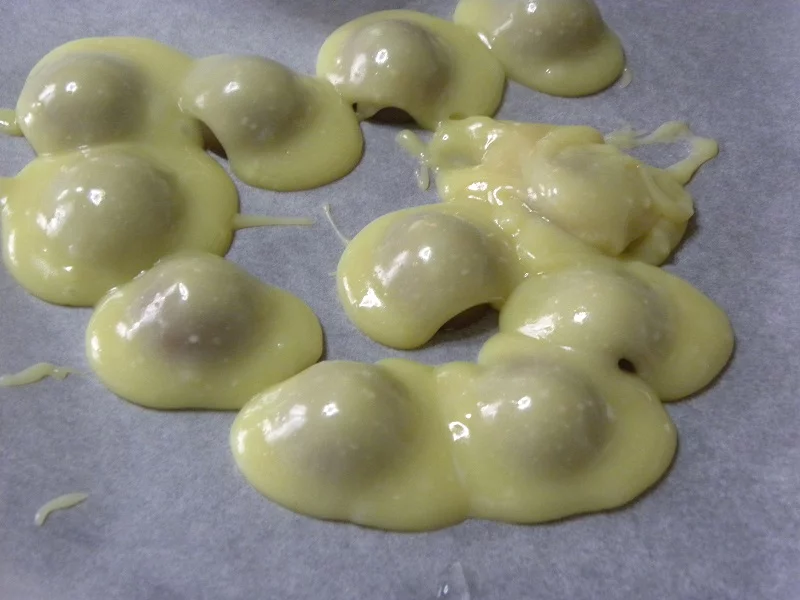
Put the round chocolates on a plate or other flat surface lined with parchment paper.
Spread the white chocolate on top, a spoonful at a time, to cover each chocolate and refrigerate, until it sets.
When decorating the cake, cut off the excess chocolate. (I used the leftover pieces to decorate the cake).
STEP 3: PREPARE THE CHOCOLATE FILLING
For the filling I made a Chocolate Buttercream using the Pâte à bombe method, However, at the end I also added some of the leftover heavy cream I used to make the chocolate blocks.
STEP 4: PREPARE THE WHIPPED CREAM:
- 250 ml heavy cream
- 1 tbsp icing sugar
- 1/2 tsp vanilla essence
Using a hand mixer or a whisk, whip the cream together with icing sugar and vanilla until stiff.
Taste and adjust sugar if you like it sweeter.
Refrigerate before using.
STEP 5: ASSEMBLE THE CAKE
Prepare the Syrup:
Combine 1/2 cup of Cherry brandy with 1/2 cup of sour cherry syrup (or any other syrup you have available at home).
However, if you don’t have any, you can easily make some simple sugar syrup from scratch.
Put 3/4 cup sugar in a pot with 3/4 cup water. Put it on the heat and mix to dissolve sugar. Bring to a simmer and cook for 5 minutes. Remove from the heat and add the lemon juice.
Cut the sponge in 3 equal slices and wet each piece with some syrup.
Put the first slice of sponge in the platter and place the outer rim again around the sponge.
Spread half of the buttercream.
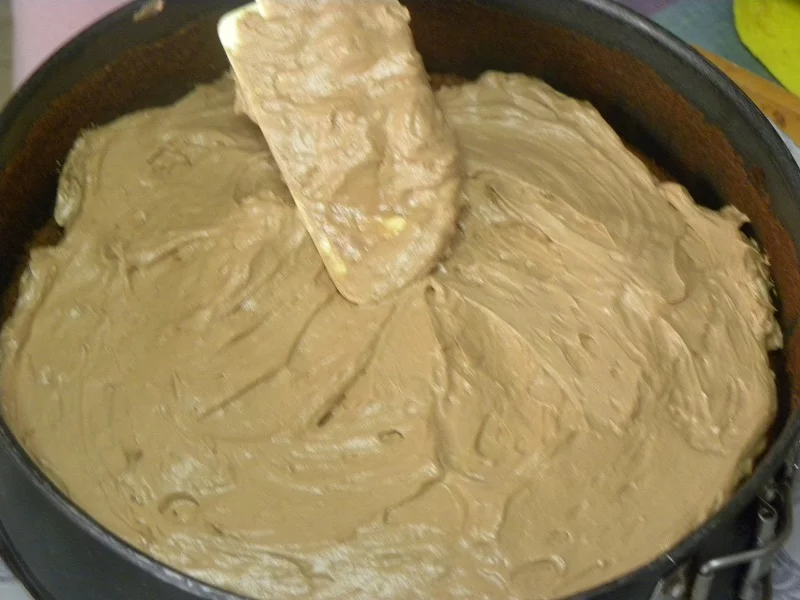
Repeat with the second slice of sponge and add the remaining buttercream.
Cover with the third slice of sponge.
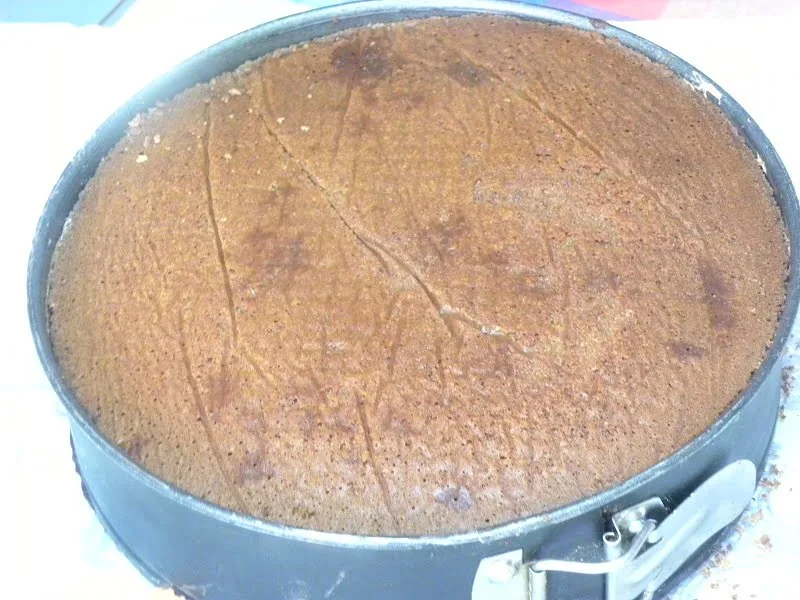
Refrigerate the cake for half an hour.
Remove the ring from the cake and spread the whipped cream on top.
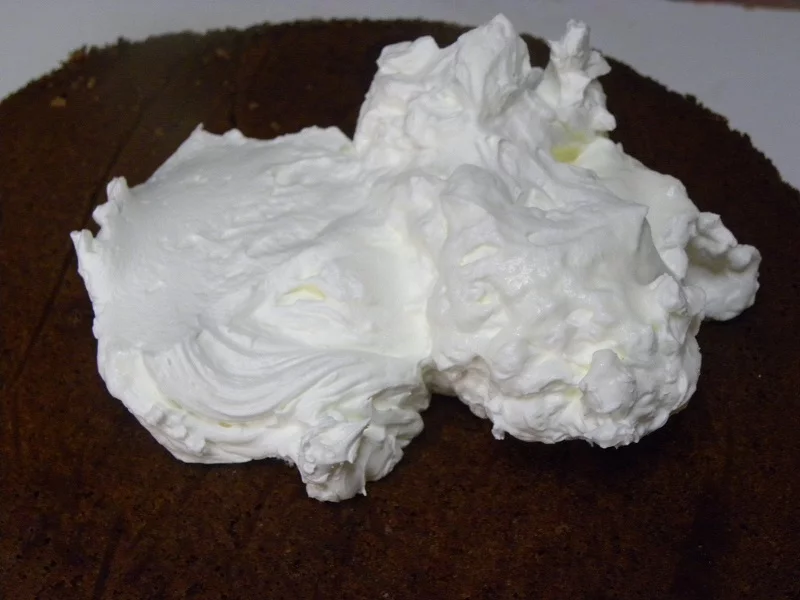
Add the chocolate eggs on top, in the centre. Before adding them cut any excess white chocolate and use the remaining to decorate the cake.
Cut the dark chocolate blocks diagonally and put them in a circle around the eggs.
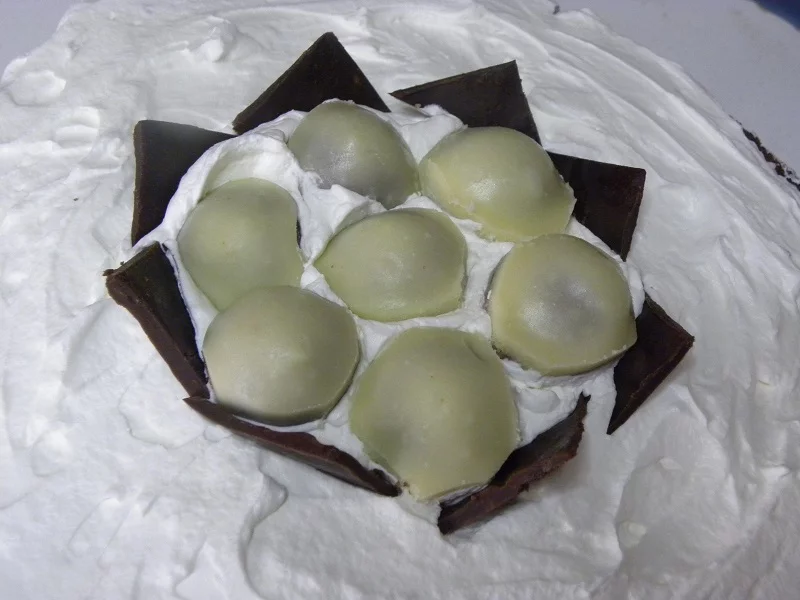
Add three rows of chocolate and then add pieces of white chocolate around the dark chocolate and on the outer edge.
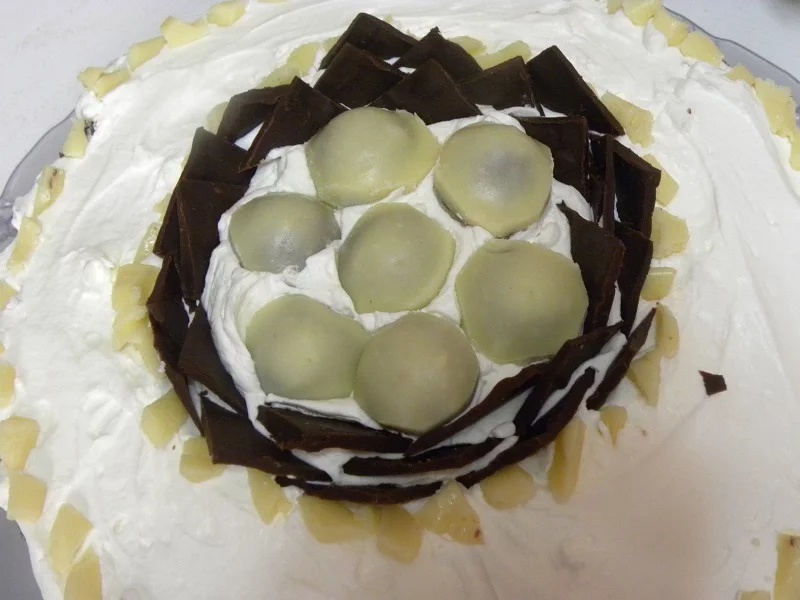
Finally add small pieces of dark chocolate between the white chocolate.
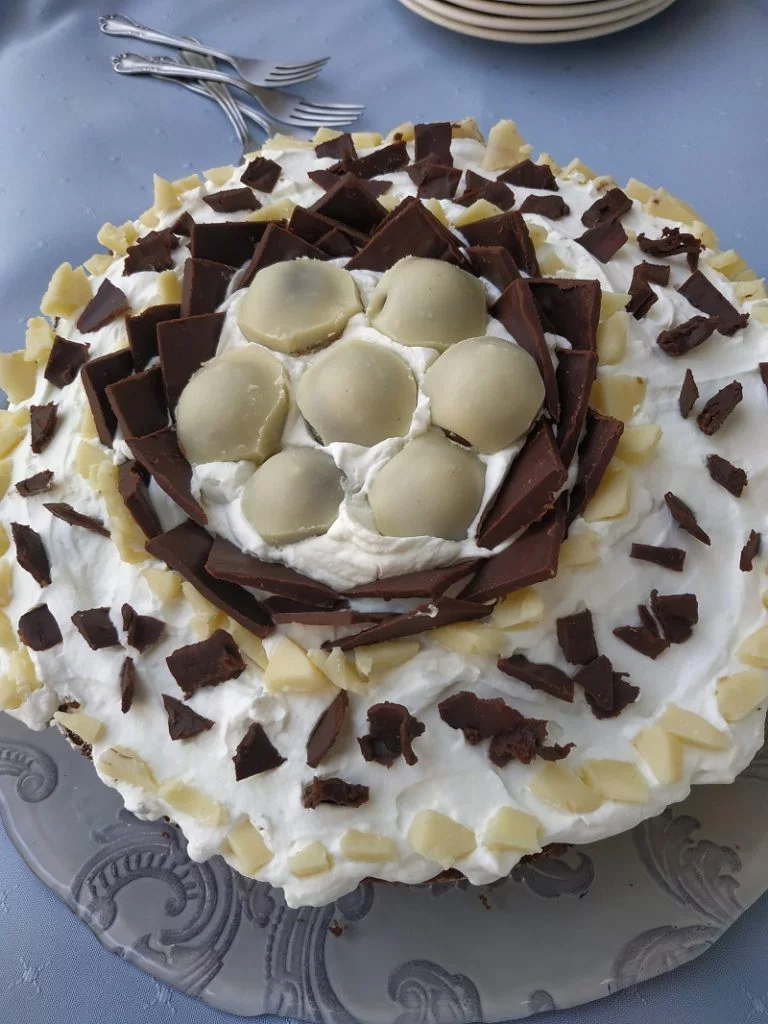
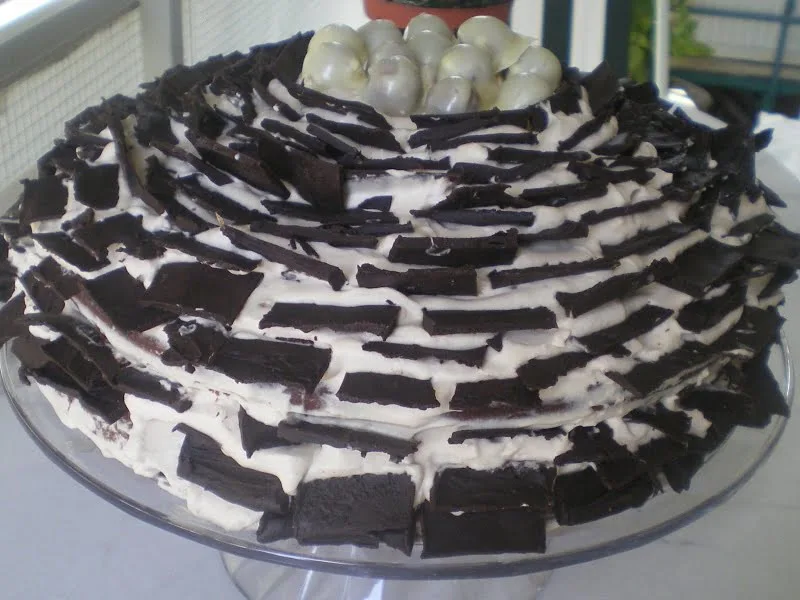
Note: The post has been updated twelve years later, by new photos when I made again in April, 2020 . I left this old photo, so that you can see the original cake.
WISHING YOU ALL
HAPPY THANKSGIVING
I am sending this recipe to The Ultimate Chocolate Cake Challenge, hosted by Not Quite Nigella.
I am also sending it to Aparna, of My Diverse Kitchen, who is Celebrating the one year of posts. Happy blogoversary Aparna.

I am also submitting this recipe to Srilekha, of Me and My Kitchen, who is hosting the Event Sweets.
Cuckoo's Nest Chocolate Cake
The Cuckoo's Nest Cake is made with a moist chocolate sponge cake, filled with chocolate buttercream, topped with whipped cream and decorated with dark and white chocolates
Ingredients
Sponge:
- 150 grams butter
- 200 ml water
- 6 large eggs
- 320 grams sugar
- 2 vanillins
- ½ tsp salt
- 270 grams all-purpose flour
- 50 grams cocoa powder
- 2 tsp baking powder
Chocolate blocks for the nest:
- 125 grams dark chocolate
- 50 grams heavy cream
Chocolate eggs:
- 12 or less small chocolate eggs or Maltezers chocolates or other round chocolates
- 75 grams white chocolate
- 20 grams butter
- 1 tbsp milk
Syrup:
- 1/2 cup of Cherry brandy
- 1/2 cup of sour cherry syrup (or any other syrup you have available at home)
Or make the syrup from scratch:
- ¾ cup sugar
- ¾ cup water
- 1 tbsp lemon juice
Chocolate Buttercream:
- 60 grams sugar
- 30 ml (2 tbsp) water
- 4 egg yolks
- 250 grams butter, room temperature
- ¼ tsp vanilla essence
- 125 grams dark chocolate
- 200 grams heavy cream
Whipped cream:
- 250 ml heavy cream
- 1 tbsp icing sugar
- 1/2 tsp vanilla essence
Instructions
- For the sponge: Prepare the Chocholate Sockerkaka sponge cake, preferably
from the previous day. - For the nest: In a bain marie (double boiler), add the chocolate and cream and mix until it melts. Line a cutting board with parchment paper and spread the chocolate on the parchment paper.
- Score it with a knife forming small blocks and refrigerate for 2 - 3 hours until it sets.
- You may then cut the blocks and store them in the refrigerator until ready to use.
- For the eggs: Melt the chocolate with butter in a bain Marie. Set aside to slightly cool.
- For the chocolate buttercream: In a double boiler melt the chocolate and set aside to cool.
- Put the sugar with water in a frying pan or a small pot and bring to a boil mixing now and then, for 4 - 5 minutes.
- When it starts bubbling turn the heat off It is ready just before it starts
caramelizing (softball stage). - If you have a candy thermometre, the ideal temperature should reach around 120o - 125o C.
- Beat the egg yolks with a hand mixer until they become creamy.
- While whisking the yolks, add the syrup gradually Set aside to cool.
- Add the butter gradually and whisk until incorporated When the chocolate is lukewarm, add it to the buttercream.
- Finally add the leftover heavy cream and vanilla and whisk until light and frothy, for about five minutes on high speed .
- Cover with cling film and refrigerate until ready to use.
- For the whipped cream: Using a hand mixer or a whisk, whip the cream together with icing sugar and vanilla until stiff.
- Taste and adjust sugar if you like it sweeter.
- Refrigerate before using.
- Syrup: Combine sour cherry syrup with cherry brandy If you are making the syrup from scratch boil the sugar with water for 5 minutes and add the lemon juice Set aside to cool.
- Assembling the cake: Cut the sponge in 3 equal slices and wet each piece with some syrup.
- Put the first slice of sponge in the platter and place the outer rim again around the sponge.
- Spread half of the buttercream.
- Put the second sponge and add the remaining buttercream.
- Cover with the third sponge.
- Refrigerate the cake for half an hour.
- Remove the ring from the cake and spread the whipped cream on top.
- Add the chocolate eggs in the centre. Before adding them cut any excess white chocolate and use the remaining to decorate the cake.
- Cut the dark chocolate blocks diagonally and put them in a circle around the eggs.
- Add three rows of chocolate and then add pieces of white chocolate around the dark chocolate and on the outer edge.
- Finally add small pieces of dark chocolate between the white chocolate.
Nutrition Information
Yield 12 Serving Size 1Amount Per Serving Calories 913Total Fat 57gSaturated Fat 35gTrans Fat 2gUnsaturated Fat 19gCholesterol 296mgSodium 636mgCarbohydrates 89gFiber 3gSugar 65gProtein 11g
Kopiaste and Kali Orexi!


megan
Saturday 29th of November 2008
What a fun cake! Oh the things I would do to it, if I were left alone with it for any amount of time. ;)
anudivya
Friday 28th of November 2008
That is so pretty Ivy! Very labor intensive I suppose.
Cakelaw
Friday 28th of November 2008
What a truly amazing cake Ivy - you have a lucky husband. I will bookmark this for a special occasion.
Abigail
Thursday 27th of November 2008
That cake looks amazing AND yummy! Very creative!
Peter
Thursday 27th of November 2008
A belated Xponia Polla to Mr. Kopiaste!
The cake looks fab...reminds me of a mosaic pattern. The neighbors must go nuts with the aromas coming from your kitchen.