How to make Brown Butter (Beurre Noisette) - an easy Guide
Learn how to make brown butter (beurre noisette) at home with just one ingredient! This simple French cooking technique transforms ordinary butter into a rich, nutty and aromatic ingredient.
Discover the step-by-step method, common mistakes to avoid, storage tips and delicious ways to use brown butter in sweet and savoury recipes.
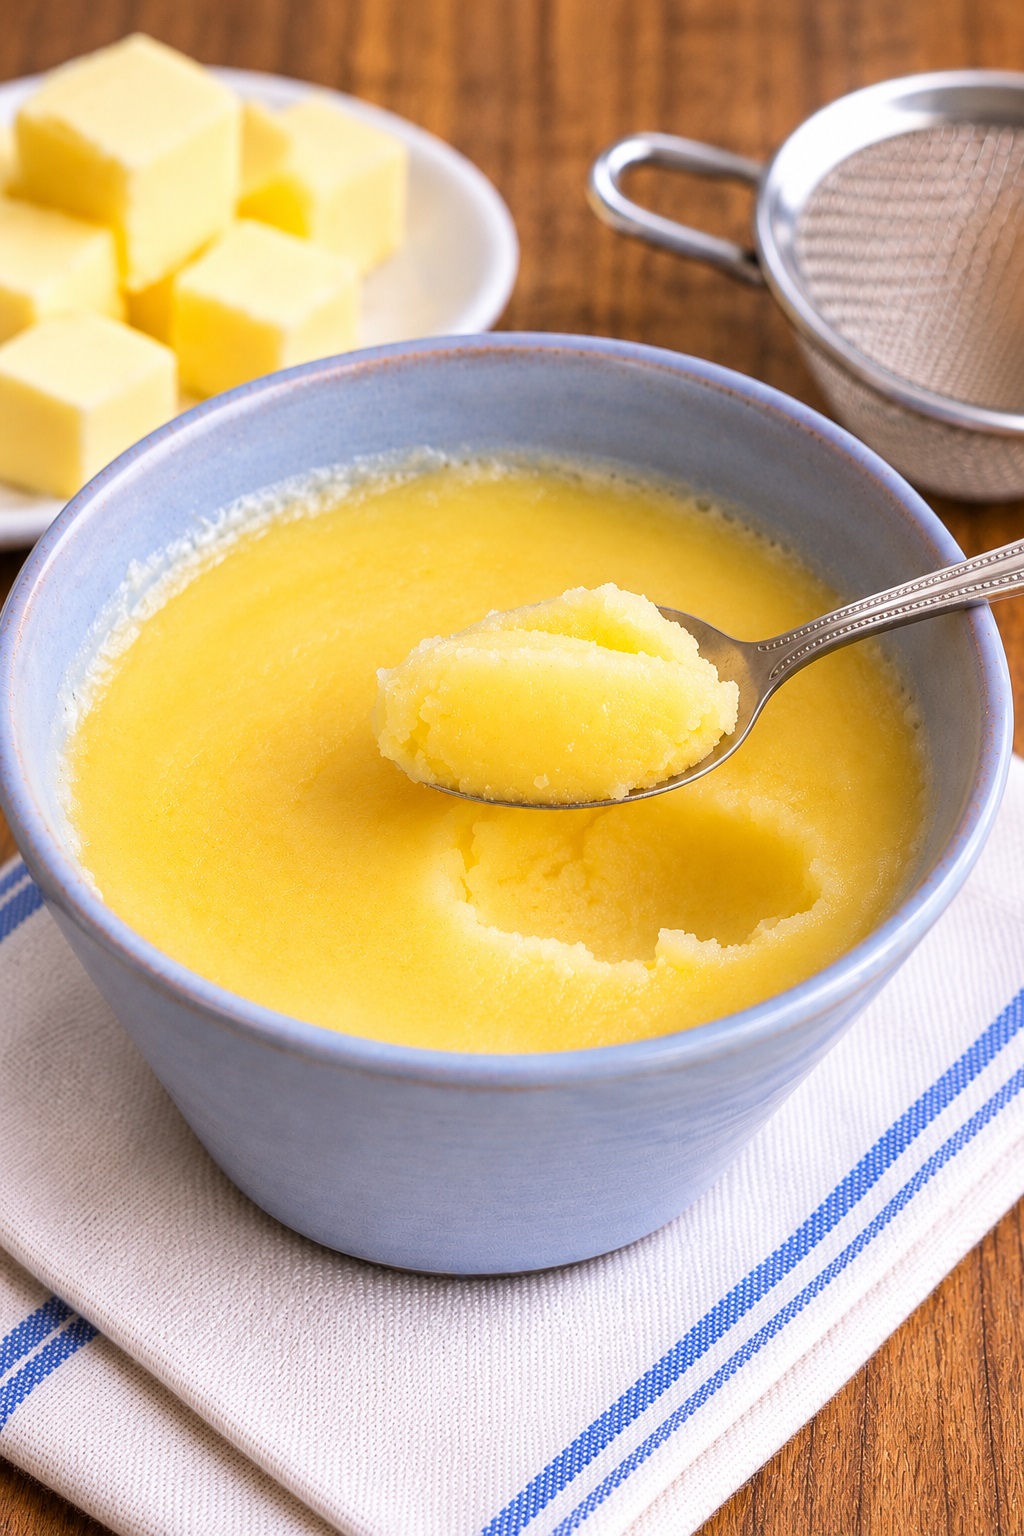
Sometimes, the simplest cooking techniques can make the biggest difference to a recipe.
Brown butter is a perfect example.
With nothing more than ordinary butter, a saucepan and a few minutes of careful cooking, you can create an ingredient with a wonderful nutty aroma and a rich, toasted flavour.
Known in French as beurre noisette, which literally means hazelnut butter, brown butter has been used in French cooking for generations.
Despite its name, it contains no hazelnuts.
The name refers to the characteristic aroma and golden-brown colour that develop as the butter cooks.
What makes this technique particularly appealing is its versatility. Brown butter can transform simple biscuits, cakes and pastries, but it is equally delicious in pasta dishes, vegetable preparations and sauces.
It is also an excellent technique for home cooks because it requires no special equipment or complicated ingredients. The secret is simply knowing what to look for and when to remove the butter from the heat.
What Is Brown Butter?
Brown butter is regular butter that has been heated until its water content evaporates and the milk solids begin to toast.
Butter is usually made up of approximately 80 to 82 percent fat, with most of the remainder consisting of water and small amounts of milk solids.
When butter melts, these components begin to separate. As heating continues, the water gradually evaporates, while the milk solids settle towards the bottom of the saucepan.
Eventually, the milk solids begin to turn golden brown, developing the distinctive toasted flavour associated with brown butter.
This browning is mainly the result of the Maillard reaction, a chemical process involving proteins and sugars that produces new flavours and aromas when food is heated.
The result is a beautifully fragrant butter with a flavour reminiscent of toasted hazelnuts, caramel and freshly baked biscuits.
Why Does Brown Butter Taste Different?
Ordinary melted butter has a pleasant, creamy flavour, but browning introduces a completely different dimension.
As the milk solids toast, they develop complex aromas that are not present in uncooked butter.
The longer the butter cooks, the deeper these flavours become. However, there is a fine line between perfectly browned butter and burnt butter.
The aim is to achieve a golden-amber liquid with toasted brown milk solids and a pleasant nutty aroma, without allowing the solids to turn black or become bitter.
How to Make Brown Butter at Home
Making brown butter is surprisingly easy, but it requires your full attention, especially during the final stages.
For your first attempt, I recommend using 250 grams of unsalted butter. This is a manageable quantity that allows you to observe the different stages of browning without the process happening too quickly.
Ingredients
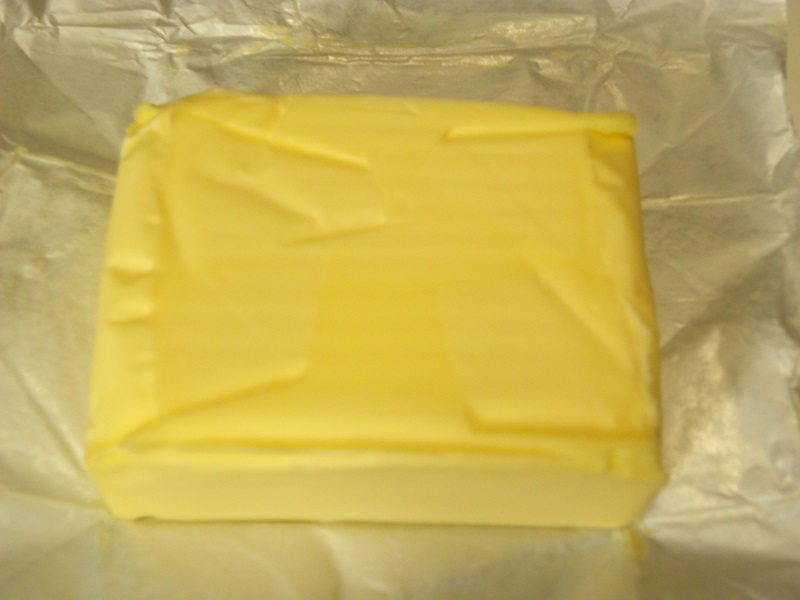
250 grams unsalted butter
Equipment
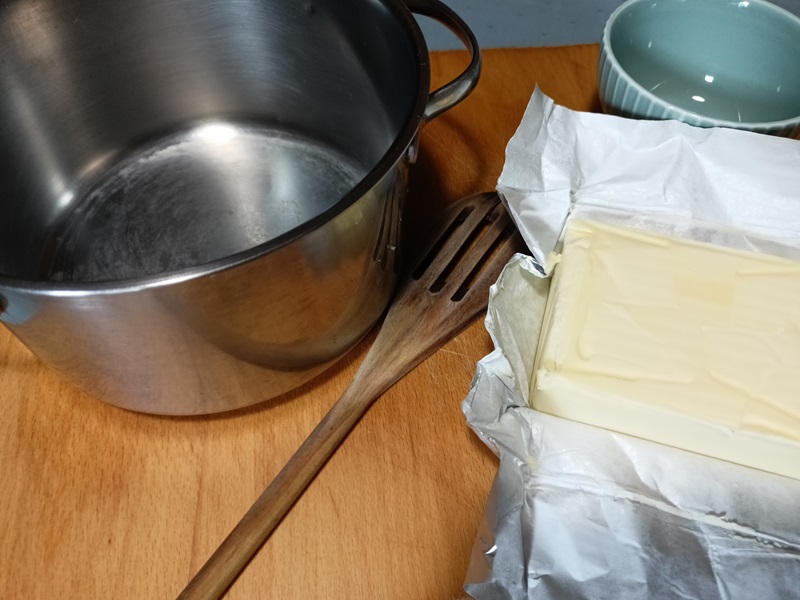
- A light-coloured, heavy-bottomed saucepan
- A wooden spoon or heatproof silicone spatula
- A heatproof bowl or glass container
- A kitchen scale, if you want to measure the final yield
Preparation Time
Approximately 2 minutes
Cooking Time
Approximately 5 to 10 minutes, depending on the saucepan, quantity of butter and heat intensity
Yield
Approximately 200 to 215 grams of brown butter, although the final quantity will depend on the original butter's composition and how much moisture evaporates.
Step-by-Step Instructions
Melting the Butter
Cut the butter into small, evenly sized pieces and place them in a light-coloured saucepan.
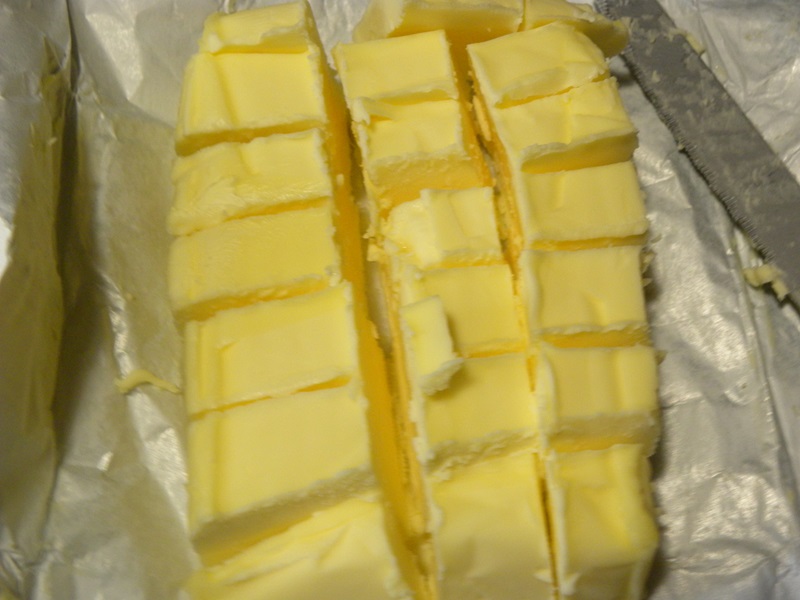
Set the saucepan over medium heat and allow the butter to melt slowly, stirring occasionally.
Using a light-coloured saucepan is particularly helpful because it allows you to see the changing colour of the butter and the milk solids as they cook.
Avoid using a very dark or non-transparent pan for your first attempt, as it can make judging the colour more difficult.
Watching the Butter Foam
Once the butter has melted completely, it will begin to bubble and form a layer of white foam on the surface.
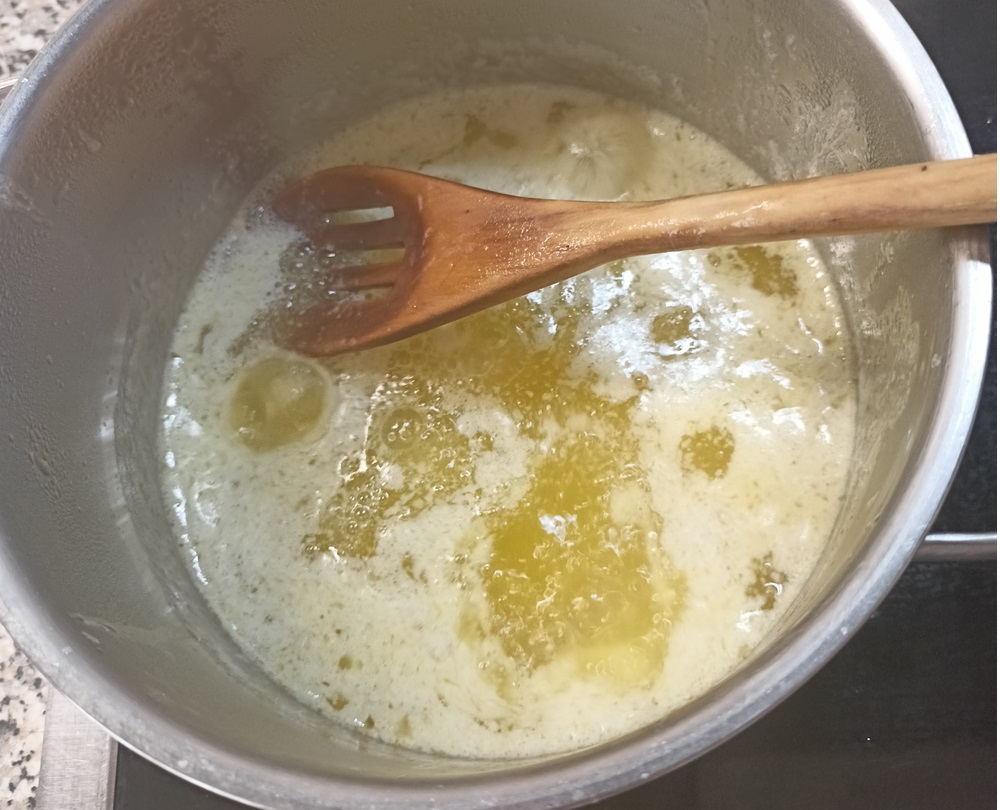
This is a normal part of the process and indicates that the water contained in the butter is heating and evaporating.
You may hear a gentle sizzling or crackling sound as the moisture escapes.
Continue cooking over medium or medium-low heat, stirring or swirling the saucepan regularly to prevent the milk solids from sticking to the bottom.
At this stage, the butter will still be yellow, and its aroma will be similar to that of ordinary melted butter.
Recognising the First Signs of Browning
As more water evaporates, the bubbling will gradually change and may become less vigorous.
The milk solids will begin to collect at the bottom of the saucepan, where they slowly change from pale cream to golden brown.
Stir gently, making sure to scrape the bottom of the saucepan so that the solids brown evenly.
You may notice that the butter begins to look clearer beneath the foam.
This is the stage when you need to pay particularly close attention, as the colour can change rapidly.
Developing the Nutty Aroma
As the milk solids continue to brown, the butter develops its characteristic toasted aroma.
The liquid becomes golden to amber, while the small particles at the bottom of the saucepan turn a deeper golden brown.
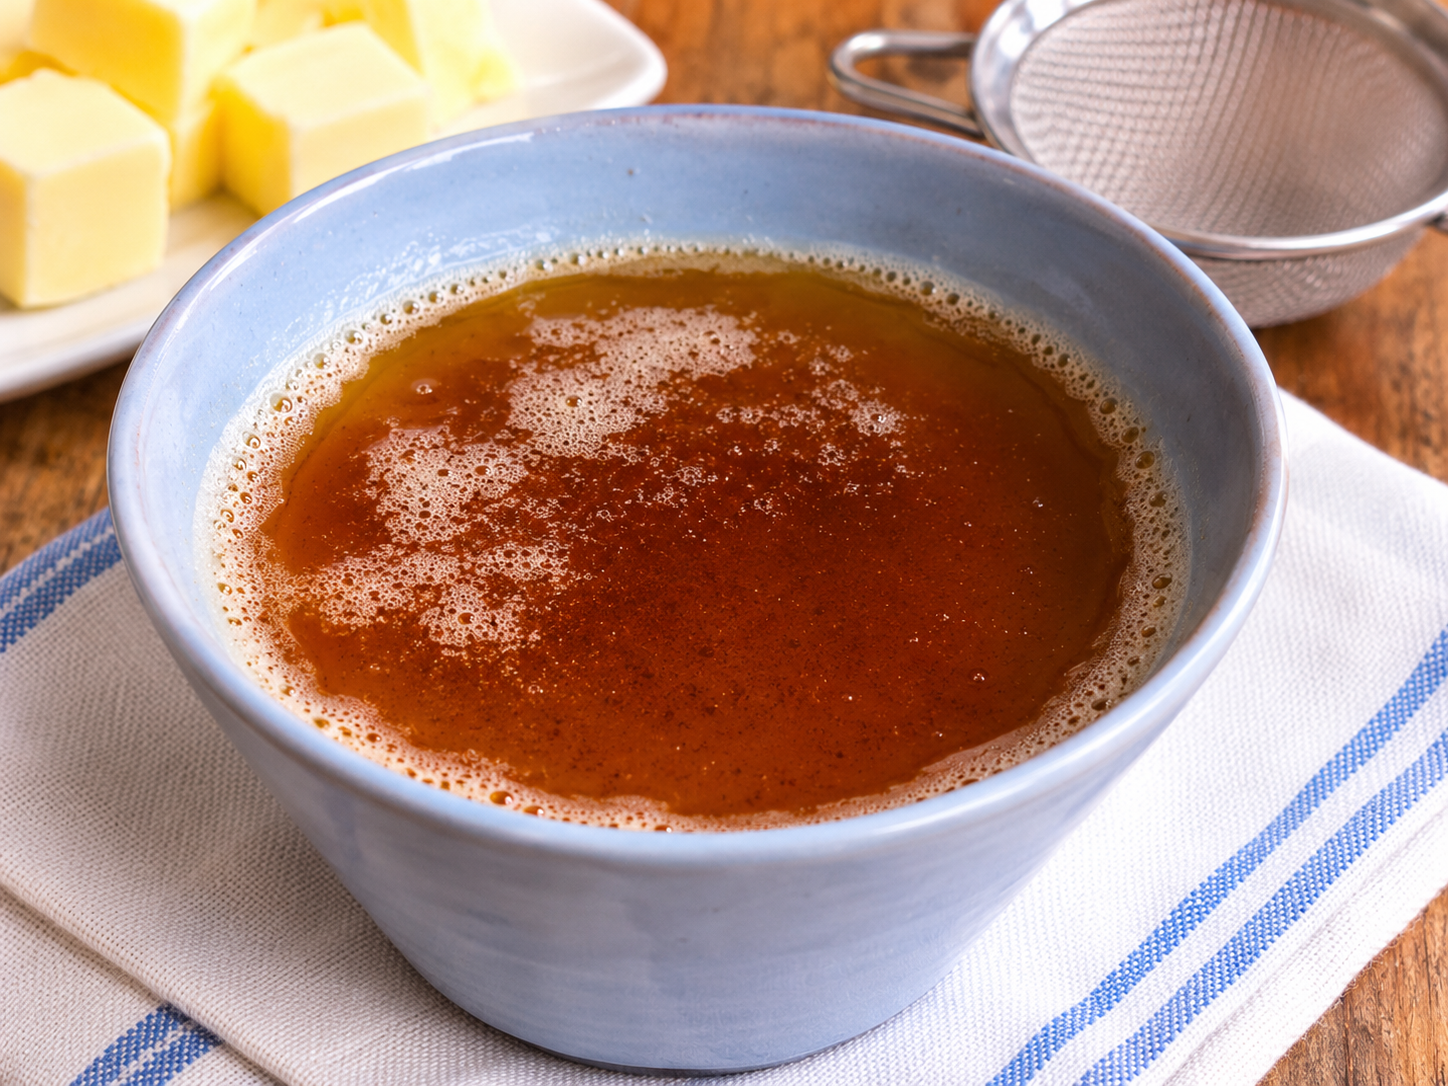
The smell is one of the best indicators that the butter is nearly ready. It should remind you of toasted hazelnuts or warm caramel, rather than burnt food.
Reduce the heat if the butter appears to be browning too quickly.
The ideal result is fragrant, amber-coloured butter with golden-brown milk solids.
Stopping the Cooking Process
As soon as the butter reaches the desired colour and aroma, remove the saucepan from the heat.
Immediately pour the butter into a heatproof bowl or container, making sure to include the browned milk solids.
This step is important because the saucepan retains heat even after it has been removed from the stove.
If the butter remains in the hot pan, the milk solids may continue cooking and eventually burn.
Allow the brown butter to cool before using it in recipes that require cooled or softened butter.
For sauces and other warm preparations, it can be used almost immediately.
What Should Perfect Brown Butter Look Like?
Perfectly prepared brown butter has a warm golden to amber colour, with small golden-brown particles visible throughout the liquid or settled at the bottom.
These particles are the toasted milk solids, and they contain much of the characteristic flavour.
The aroma should be rich, nutty and pleasantly toasted.
If the milk solids become very dark or black and the butter develops an unpleasant, acrid smell, it has gone too far.
Burnt butter will introduce bitterness into a recipe, so it is better to discard it and begin again.
Should You Strain Brown Butter?
In most recipes, there is no need to strain brown butter.
The small browned milk solids are responsible for much of its distinctive flavour, so removing them would also remove some of the qualities that make brown butter special.
For biscuits, cakes, pasta dishes and many sauces, I prefer to keep the toasted particles.
However, some preparations may call for a smoother, clearer butter. In those cases, the butter can be strained through a fine-mesh sieve, although some of the toasted flavour will be lost.
Common Mistakes When Making Brown Butter
Using Too Much Heat
One of the most common mistakes is cooking the butter over excessively high heat.
Although higher heat will speed up the process, it also increases the risk of burning the milk solids before they have browned evenly.
Medium heat is generally a good starting point, with the option of reducing it as the butter begins to change colour.
Leaving the Saucepan Unattended
Brown butter requires very little effort, but it is not something that should be left cooking while you attend to other tasks.
During the final stage, the difference between golden-brown and burnt milk solids can be a matter of seconds.
Keep a close eye on the saucepan and have a heatproof bowl ready before you begin.
Removing the Butter Too Early
If the butter is removed from the heat while the milk solids are still pale, it will simply be melted butter with much of its original flavour.
Wait until you can clearly see golden-brown particles and smell the characteristic nutty aroma.
Allowing the Butter to Burn
If the butter becomes very dark and smells burnt, it is best not to use it.
The bitterness cannot be removed by adding other ingredients.
Leaving the Butter in the Hot Saucepan
Even after turning off the heat, the saucepan can remain hot enough to continue cooking the milk solids.
Transferring the butter immediately to a separate container helps prevent overcooking.
Why Does Brown Butter Weigh Less Than Regular Butter?
One important detail to remember is that brown butter weighs less than the original quantity of butter.
This happens because much of the water naturally present in butter evaporates during heating.
For example, 250 grams of regular butter may produce approximately 200 to 215 grams of brown butter.
The precise amount depends on the butter's original water content and the cooking process.
This difference is particularly important in baking, where the balance between fat and liquid can affect the finished texture.
When adapting a recipe that calls for regular butter, it may be necessary to replace some of the lost moisture with water or milk.
However, the best approach depends on the type of recipe and whether the butter was originally intended to be melted, softened or creamed with sugar.
How to Store Brown Butter
Storing Brown Butter in the Refrigerator
Allow the brown butter to cool before transferring it to a clean, airtight container.
Store it in the refrigerator and use it within approximately one to two weeks.
As it cools, the butter will solidify and become opaque, much like ordinary butter.
Can Brown Butter Be Frozen?
Brown butter can also be frozen for longer storage.
Divide it into small portions and place them in suitable airtight containers.
For the best flavour, use frozen brown butter within approximately three months.
This is particularly convenient if you prepare a larger quantity and want to have some ready for future recipes.
How to Reheat Brown Butter
If you need liquid brown butter, reheat it gently over low heat until melted.
Avoid overheating it, as the milk solids can continue to darken.
For baking recipes that require softened butter, allow the refrigerated brown butter to come to the appropriate consistency rather than melting it completely.
Is Brown Butter the Same as Clarified Butter or Ghee?
Although brown butter, clarified butter and ghee all begin with ordinary butter, they are not exactly the same.
Clarified butter is prepared by removing the water and separating the milk solids from the butterfat, leaving a clear golden fat.
Brown butter, on the other hand, is deliberately cooked until the milk solids toast and develop their characteristic nutty flavour.
Ghee is traditionally prepared by simmering butter until the moisture evaporates and the milk solids separate. Depending on the preparation method, some browning may occur before the solids are strained away.
The main distinction is that brown butter is valued for the flavour of its toasted milk solids, which are usually retained in the finished preparation.
How Can Brown Butter Be Used in Cooking?
One of the most appealing things about brown butter is how easily it can be incorporated into everyday cooking.
In sweet preparations, it works beautifully with chocolate, almonds, walnuts, cinnamon, vanilla, honey and citrus fruits.
It can add a toasted flavour to biscuits, cakes, muffins, shortbread and other baked goods.
In savoury cooking, brown butter pairs particularly well with sage, lemon, mushrooms, potatoes, pasta and roasted vegetables.
It is also delicious spooned over cooked fish or combined with herbs to create a simple sauce.
For Greek and Cypriot cooking, I can imagine some particularly interesting possibilities, including variations of kourabiedes, hilopites, semolina halva and other traditional dishes.
Of course, when adapting an existing recipe, the quantities and method may need some adjustment, especially when the original recipe relies on the texture or moisture content of regular butter.
Final Thoughts
Brown butter is proof that a simple cooking technique can make a remarkable difference to an everyday ingredient.
It requires no complicated equipment or unusual ingredients, only a little patience and careful attention as the butter changes colour.
Once you become familiar with the different stages, making brown butter becomes almost second nature.
The next time a recipe calls for melted butter, consider whether using brown butter could add another layer of flavour.
It may be a small change, but the result can be surprisingly delicious.
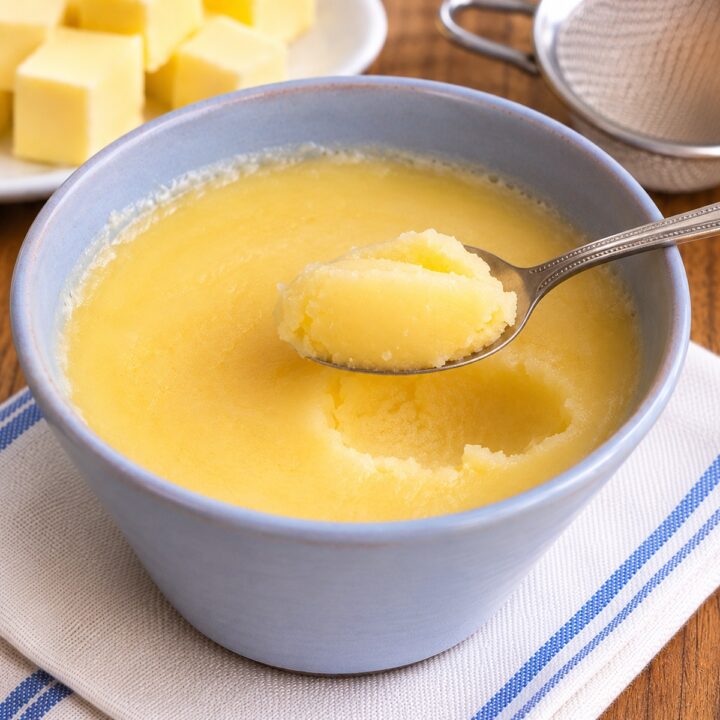
How to make Brown Butter (Beurre Noisette) - an easy Guide
Learn how to transform ordinary butter into rich, aromatic brown butter with a delicious nutty flavour.
Materials
- 250 grams cow's milk butter
Tools
- Heavy, light-coloured saucepan
- Wooden spoon
- Heat proof vessel
- Scale (optional)
Instructions
- Cut 250 grams (8.8 oz) of unsalted butter into small pieces.
- Place the butter in a light-coloured saucepan over medium heat.
- Allow the butter to melt completely, stirring occasionally.
- Continue cooking as the butter begins to bubble and foam.
- Stir frequently, scraping the bottom of the saucepan to prevent the milk solids from burning.
- Watch as the foam gradually subsides and the milk solids begin to turn golden brown.
- Look for amber-coloured butter with tiny brown specks at the bottom and a wonderful nutty aroma.
- Remove the saucepan from the heat immediately to prevent the butter from burning.
- Pour the brown butter into a heatproof bowl to stop the cooking process.
- For a smoother result, strain the butter through a fine-mesh sieve to remove some or all of the browned milk solids.
- Allow the butter to cool before using it in your favourite recipes.
- Use brown butter to add a wonderful depth of flavour to cakes, biscuits, pastries, sauces and savoury dishes.
Kopiaste and Kali Orexi,